Step 1: Sign Into SketricGen and Set Up Your Brand Agent
To get started with the integration, sign in to your SketricGen account. If you don’t have an account yet, you can create one for free. Once you’re logged in, begin setting up your Brand Agent by uploading your data sources. These can include files, text snippets, websites, or Q&A pairs, which will serve as the knowledge base for your Brand Agent. If you need assistance with setting up a working SketricGen Brand Agent, refer to the step-by-step guide for creating and deploying your Brand Agent.Step 2: Connect Instagram Account to Your SketricGen Agent
Go to the Publish section of your Brand Agent and press Connect on the Instagram integration card.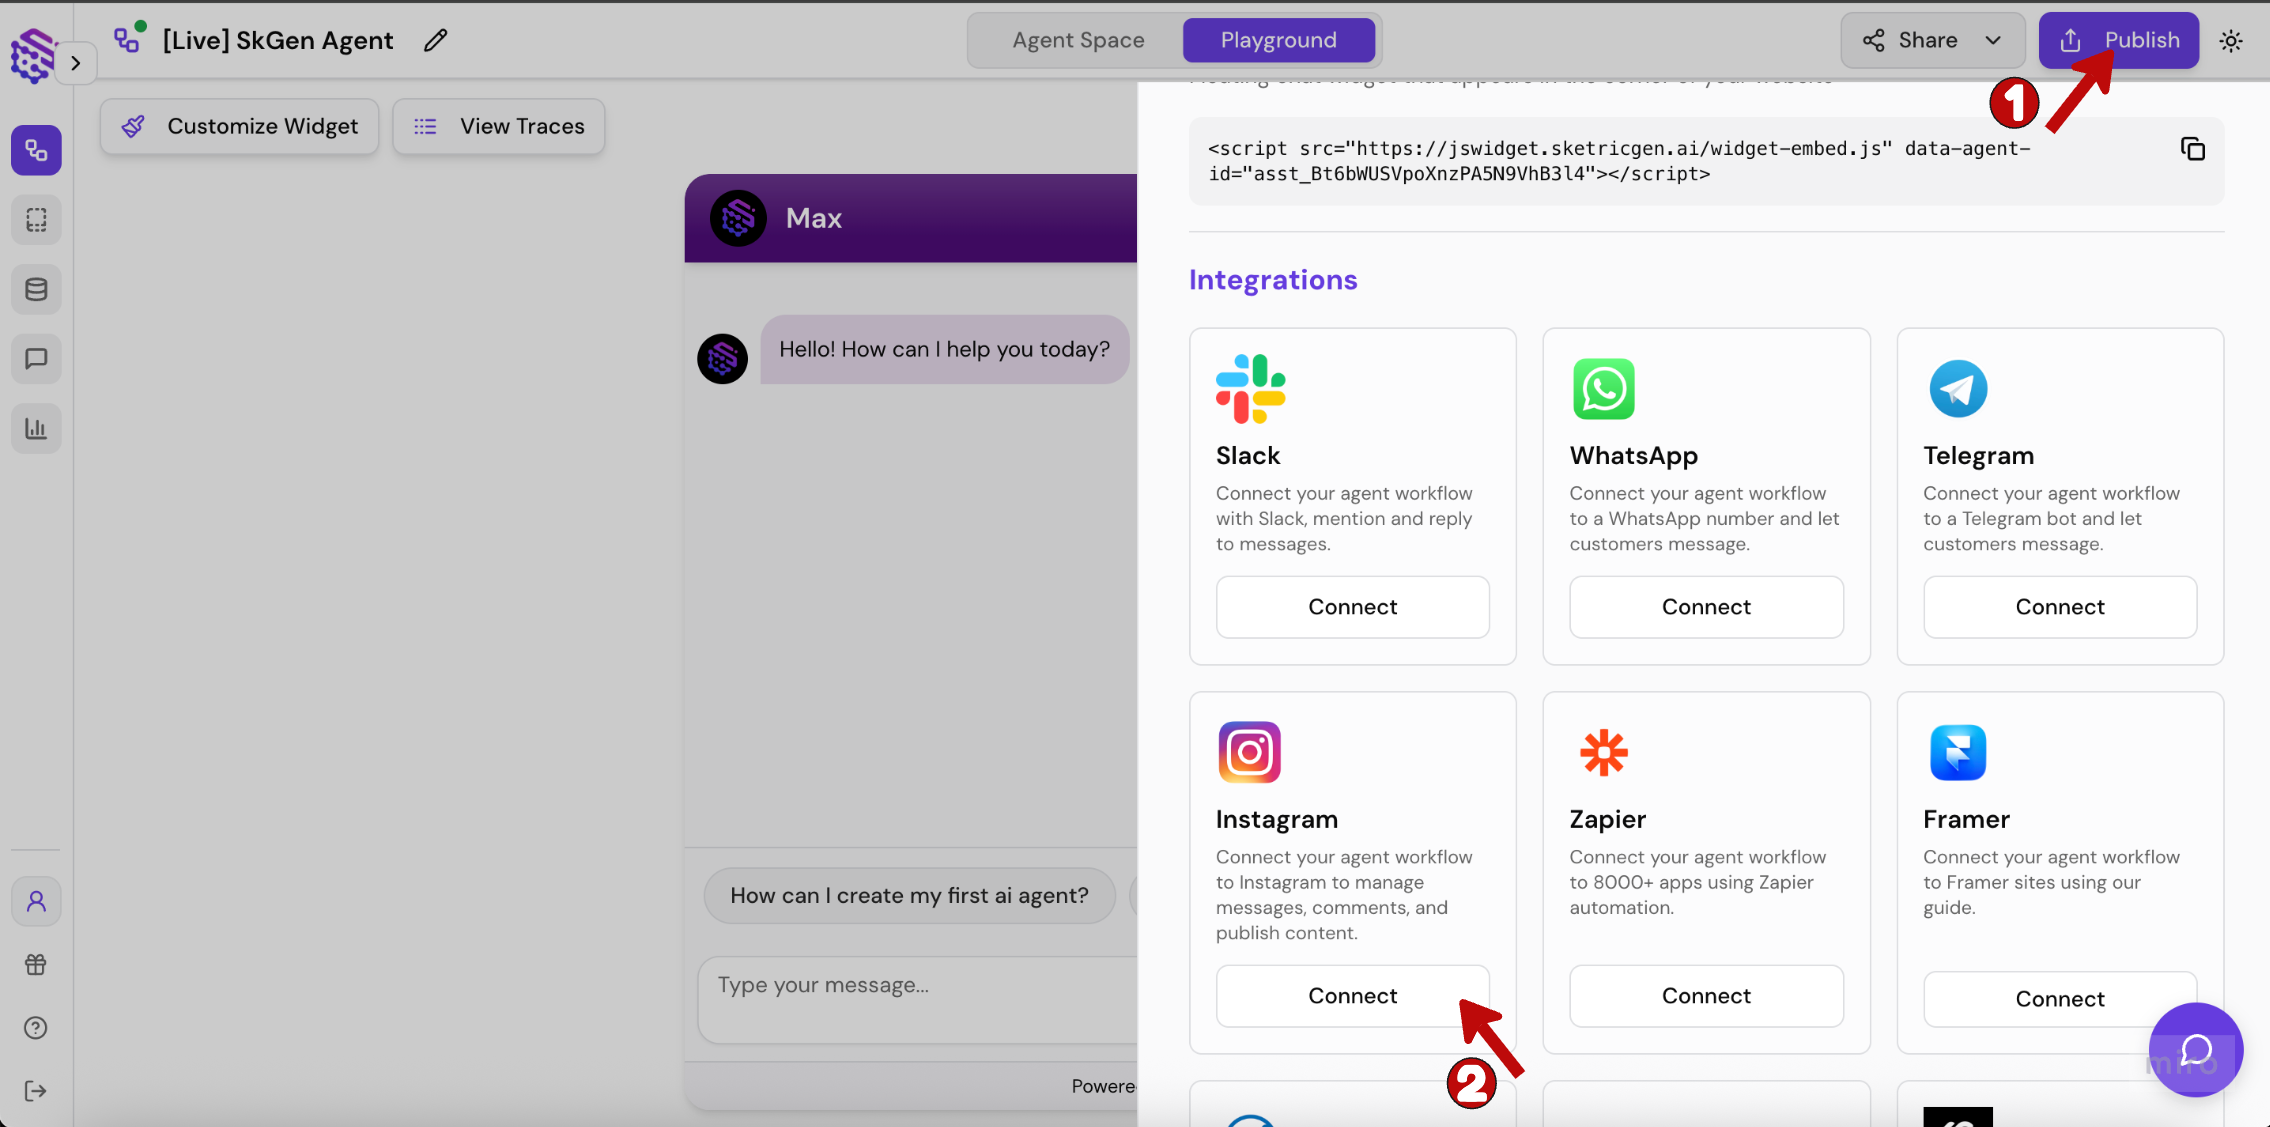
Step 3: Grant Permissions to Your Instagram Account
Log in to your Instagram account when prompted and click Allow to grant the requested permissions to SketricGen.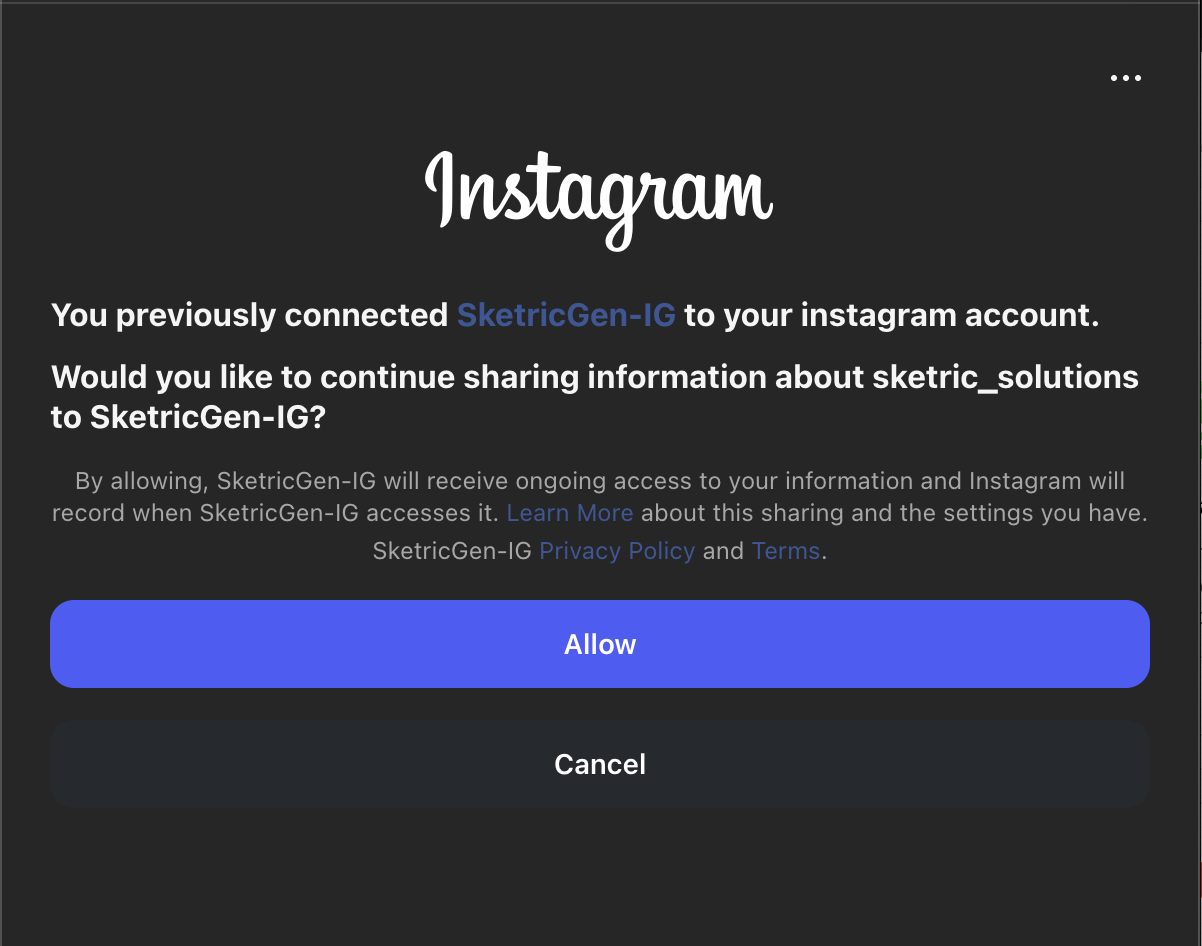
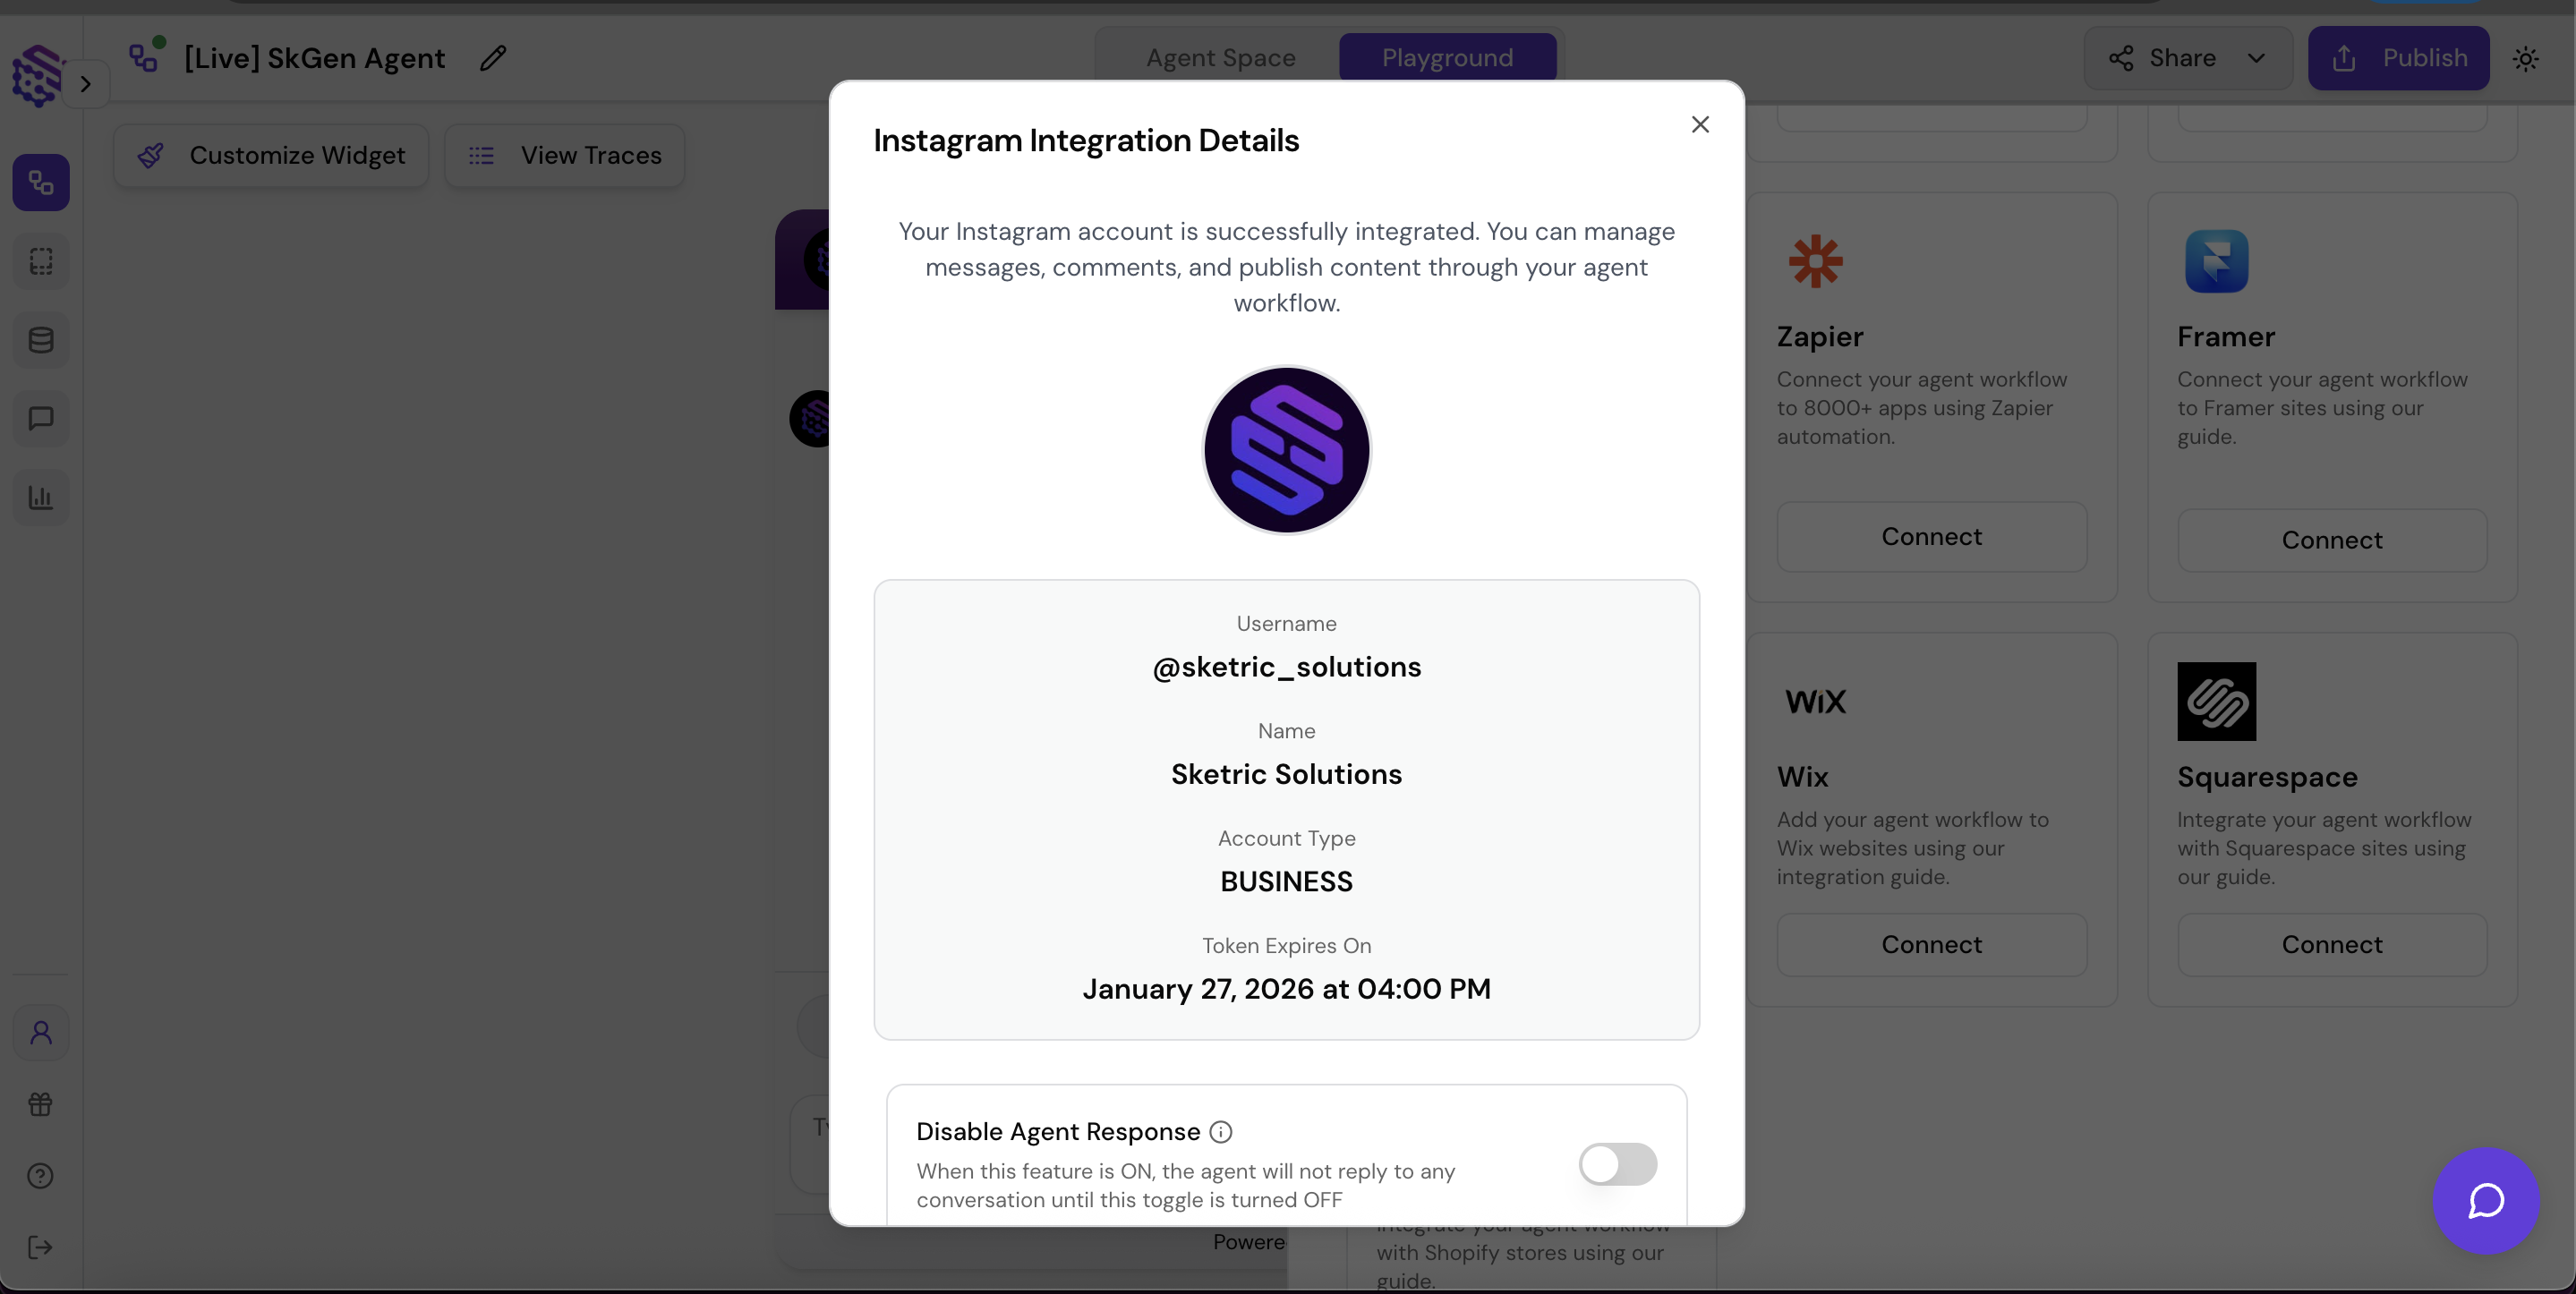
Step 4: Confirm a Successful Connection
Once your Instagram account is successfully connected, the Connect button will switch to Manage inside the Publish sidebar. Click Manage to view or update the connected account details.