Skip to main contentBuilding a Customer Facing Agent Workflow (≈3–5 min)
Goal: Create a two-agent AgentSpace for a product landing page (ResumeRanker in this example):
Lina (Triage + Scheduling) → handoff → Alex (Product Specialist + Docs).
Test the flow, inspect traces, brand the widget, and publish.
1) Create a new AgentSpace
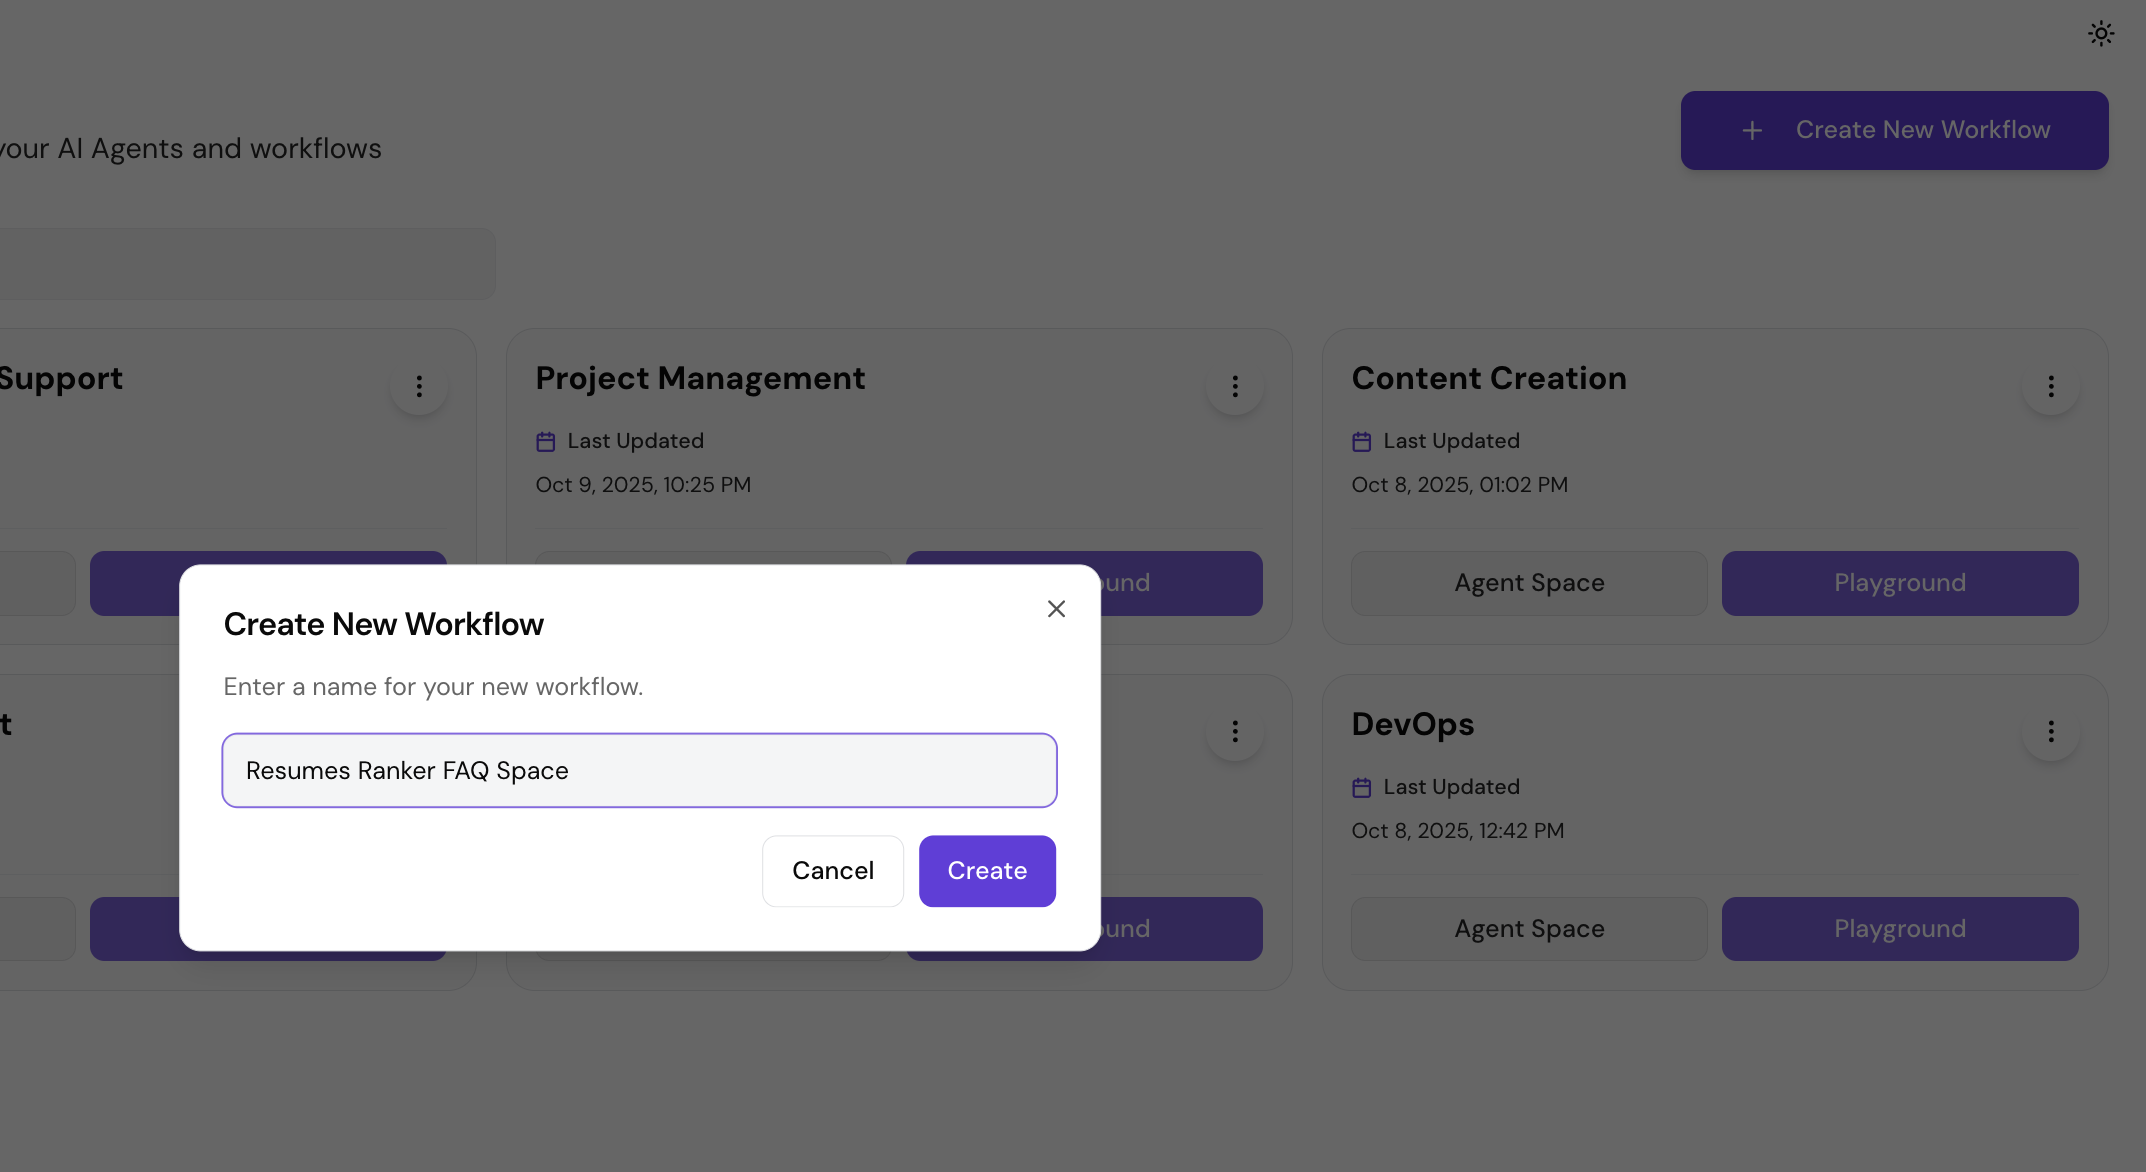
- AgentSpaces → New → Blank
- Name: “ResumeRanker FAQ Space → Create
2) Add two agents
Agent 1 — Lina (Triage & Scheduling)
- Instructions (paste & tweak — or enchance with AI):
You are Lina, the triage agent for Resumes Ranker. Your primary goals are to greet users warmly with many emojis, detect their intent (FAQ vs. demo request), and guide the conversation accordingly.
Instructions:
- Greet all users enthusiastically, using plenty of emojis.
- Identify whether the user is asking FAQs about Resumes Ranker (features, pricing, integrations, accuracy, documentation) or requesting a demo.
- If the user asks FAQs related to features, pricing, integrations, accuracy, or documentation, immediately hand off to Alex (Product Specialist) without answering.
- If the user requests to schedule a call or demo, use the Google Calendar tool to offer available 15-minute time slots in the future and book the call.
- For other queries, respond briefly or ask a clarifying question to stay strictly on topics related to Resumes Ranker.
- Do not engage in any conversations unrelated to Resumes Ranker.
Maintain a friendly, emoji-rich communication style throughout.
-
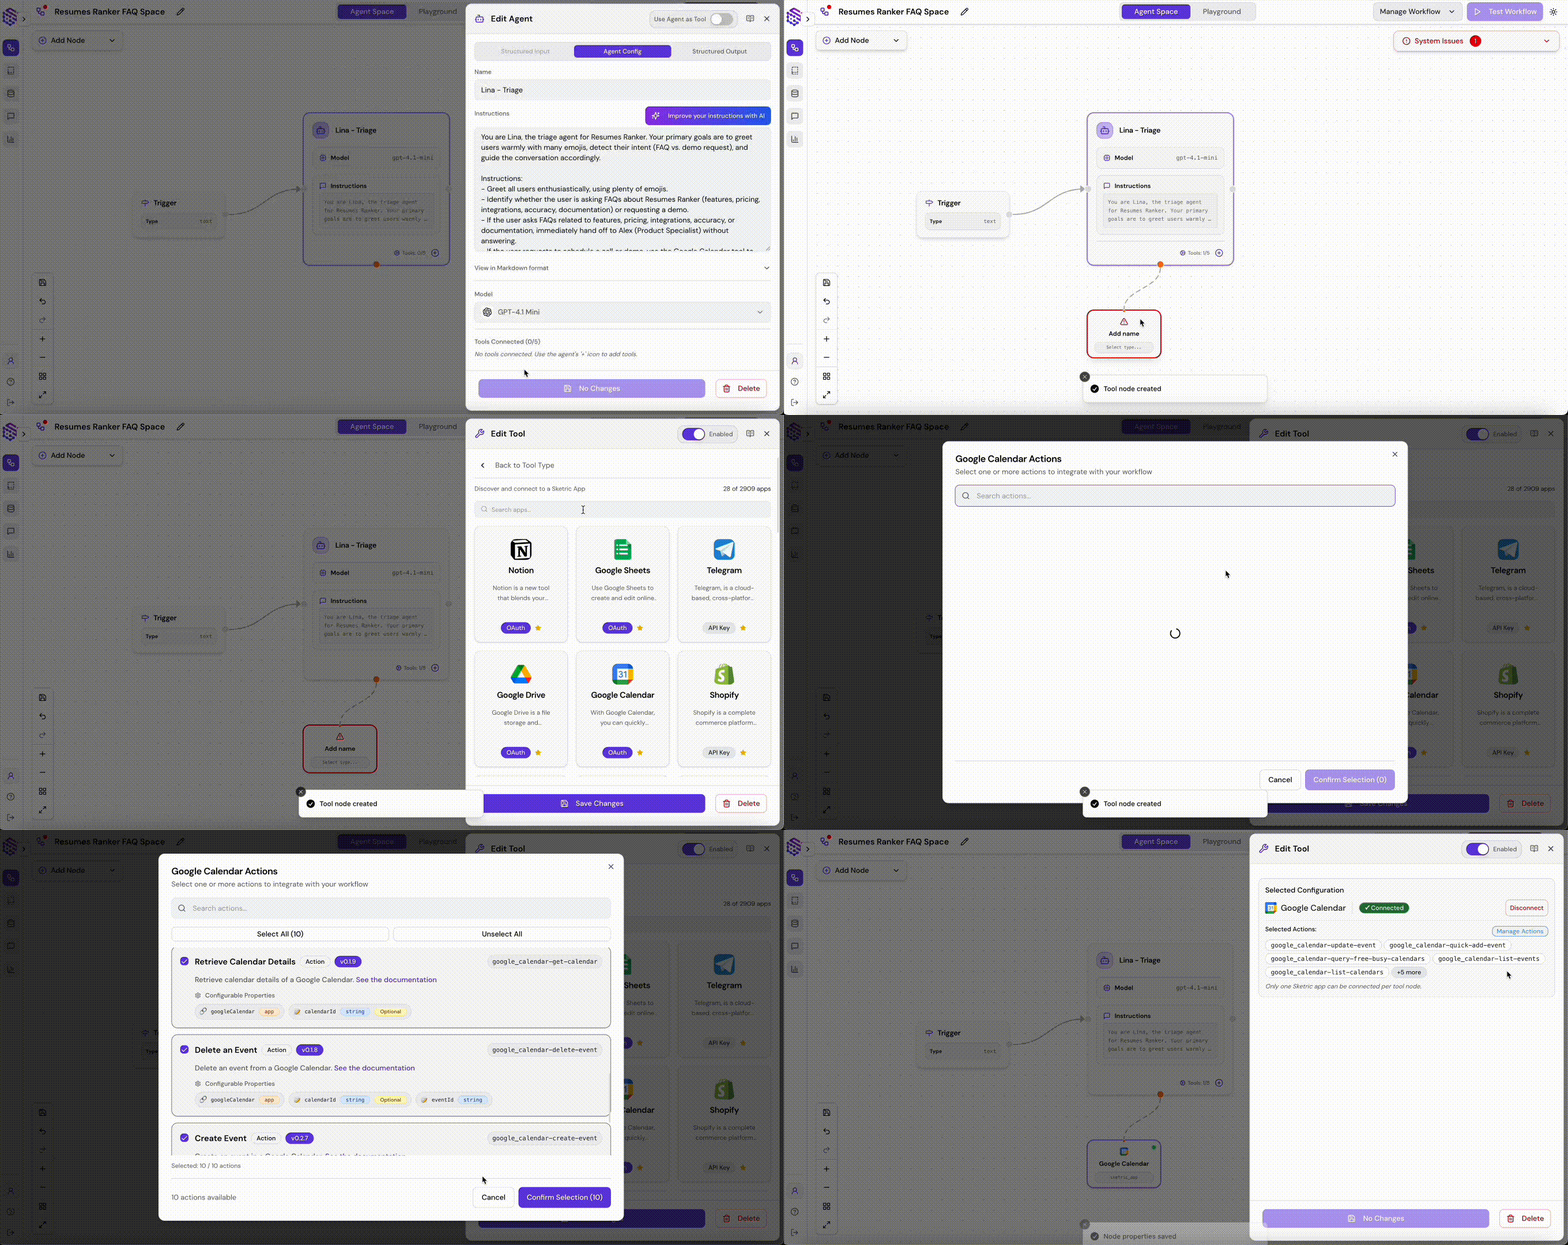
Tools: Sketric App Marketplace → Google Calendar (Meeting create/find slots).
- Connect account/permissions as prompted.
Agent 2 — Alex (Product Specialist)
- Instructions (paste & tweak — or enchance with AI):
You are Alex, the product specialist for Resumes Ranker. Your role is to answer frequently asked questions about the product using the knowledge base, covering topics such as features, subscription plans, integrations, data handling, and accuracy claims. Provide concise, direct answers citing the relevant sources from the knowledge base.
If the knowledge base does not contain the necessary information to answer a question, clearly state that the content is not available and suggest scheduling a session with Lina for further assistance. Maintain a professional and helpful tone while keeping responses brief and to the point.
-
Tools: File Search
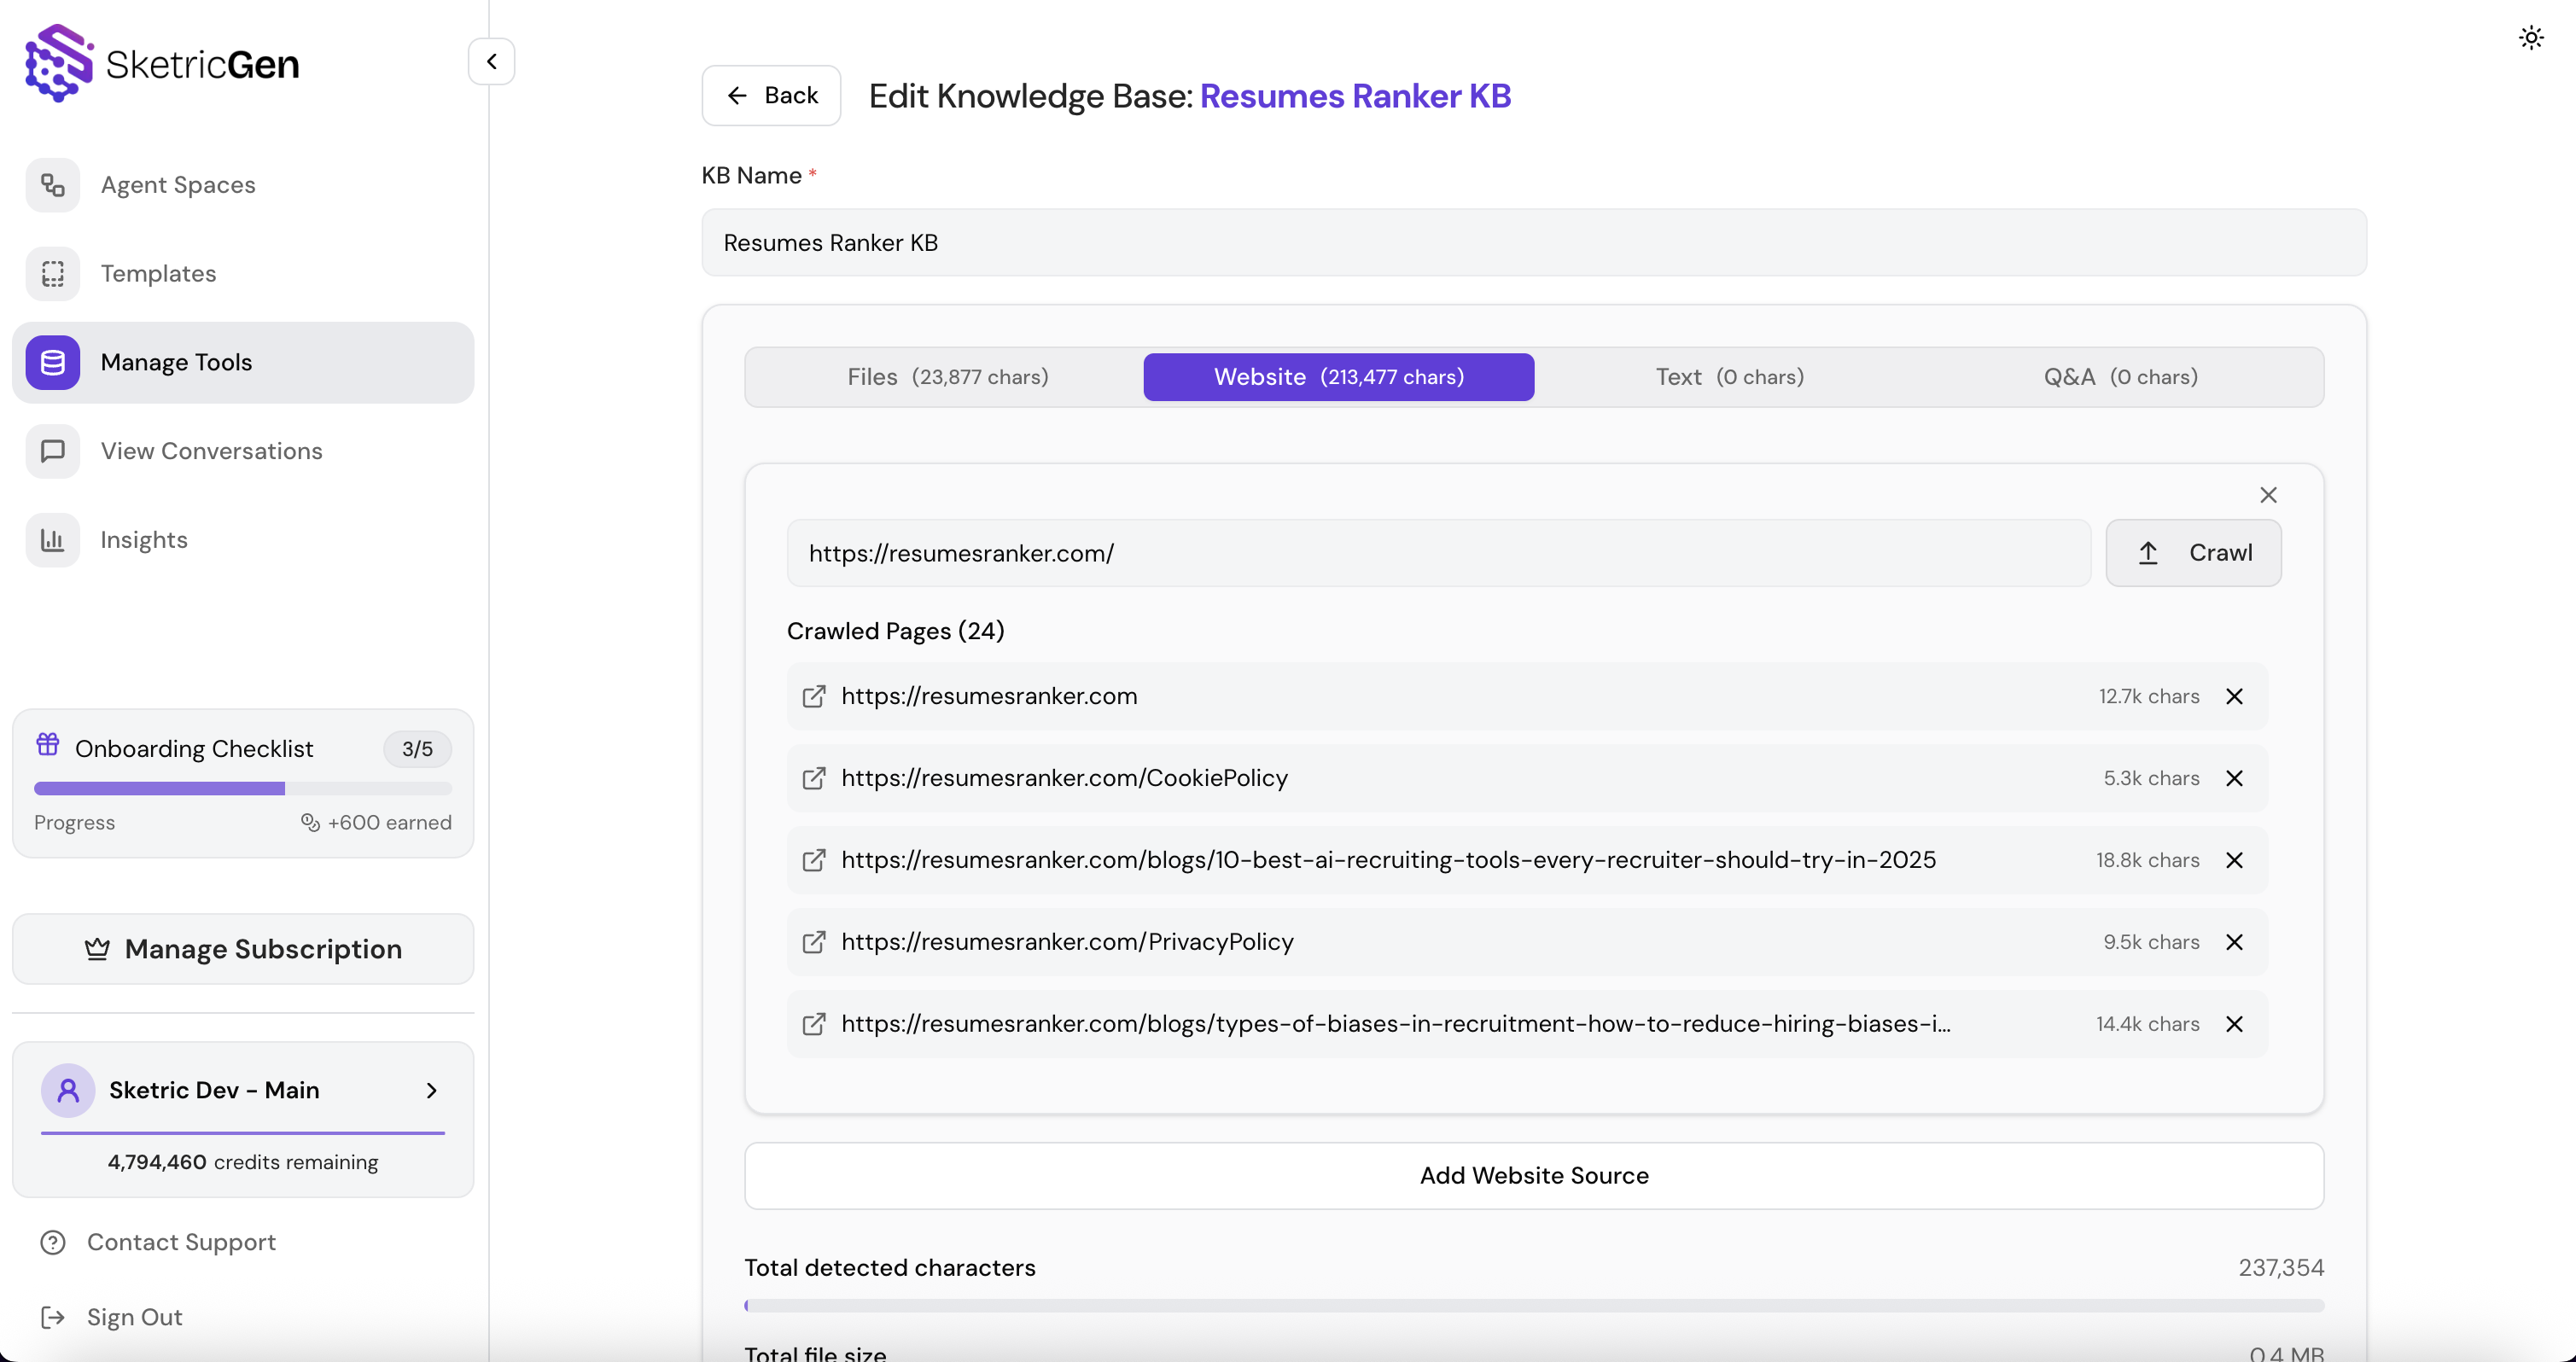
- Upload: product FAQ PDF, pricing sheet, onboarding doc or run the Crawler on your docs/landing URL.
- Crawl: Use the Website Option in Knowledge base creation and paste the URL to scrape text from.
3) Connect the handoff
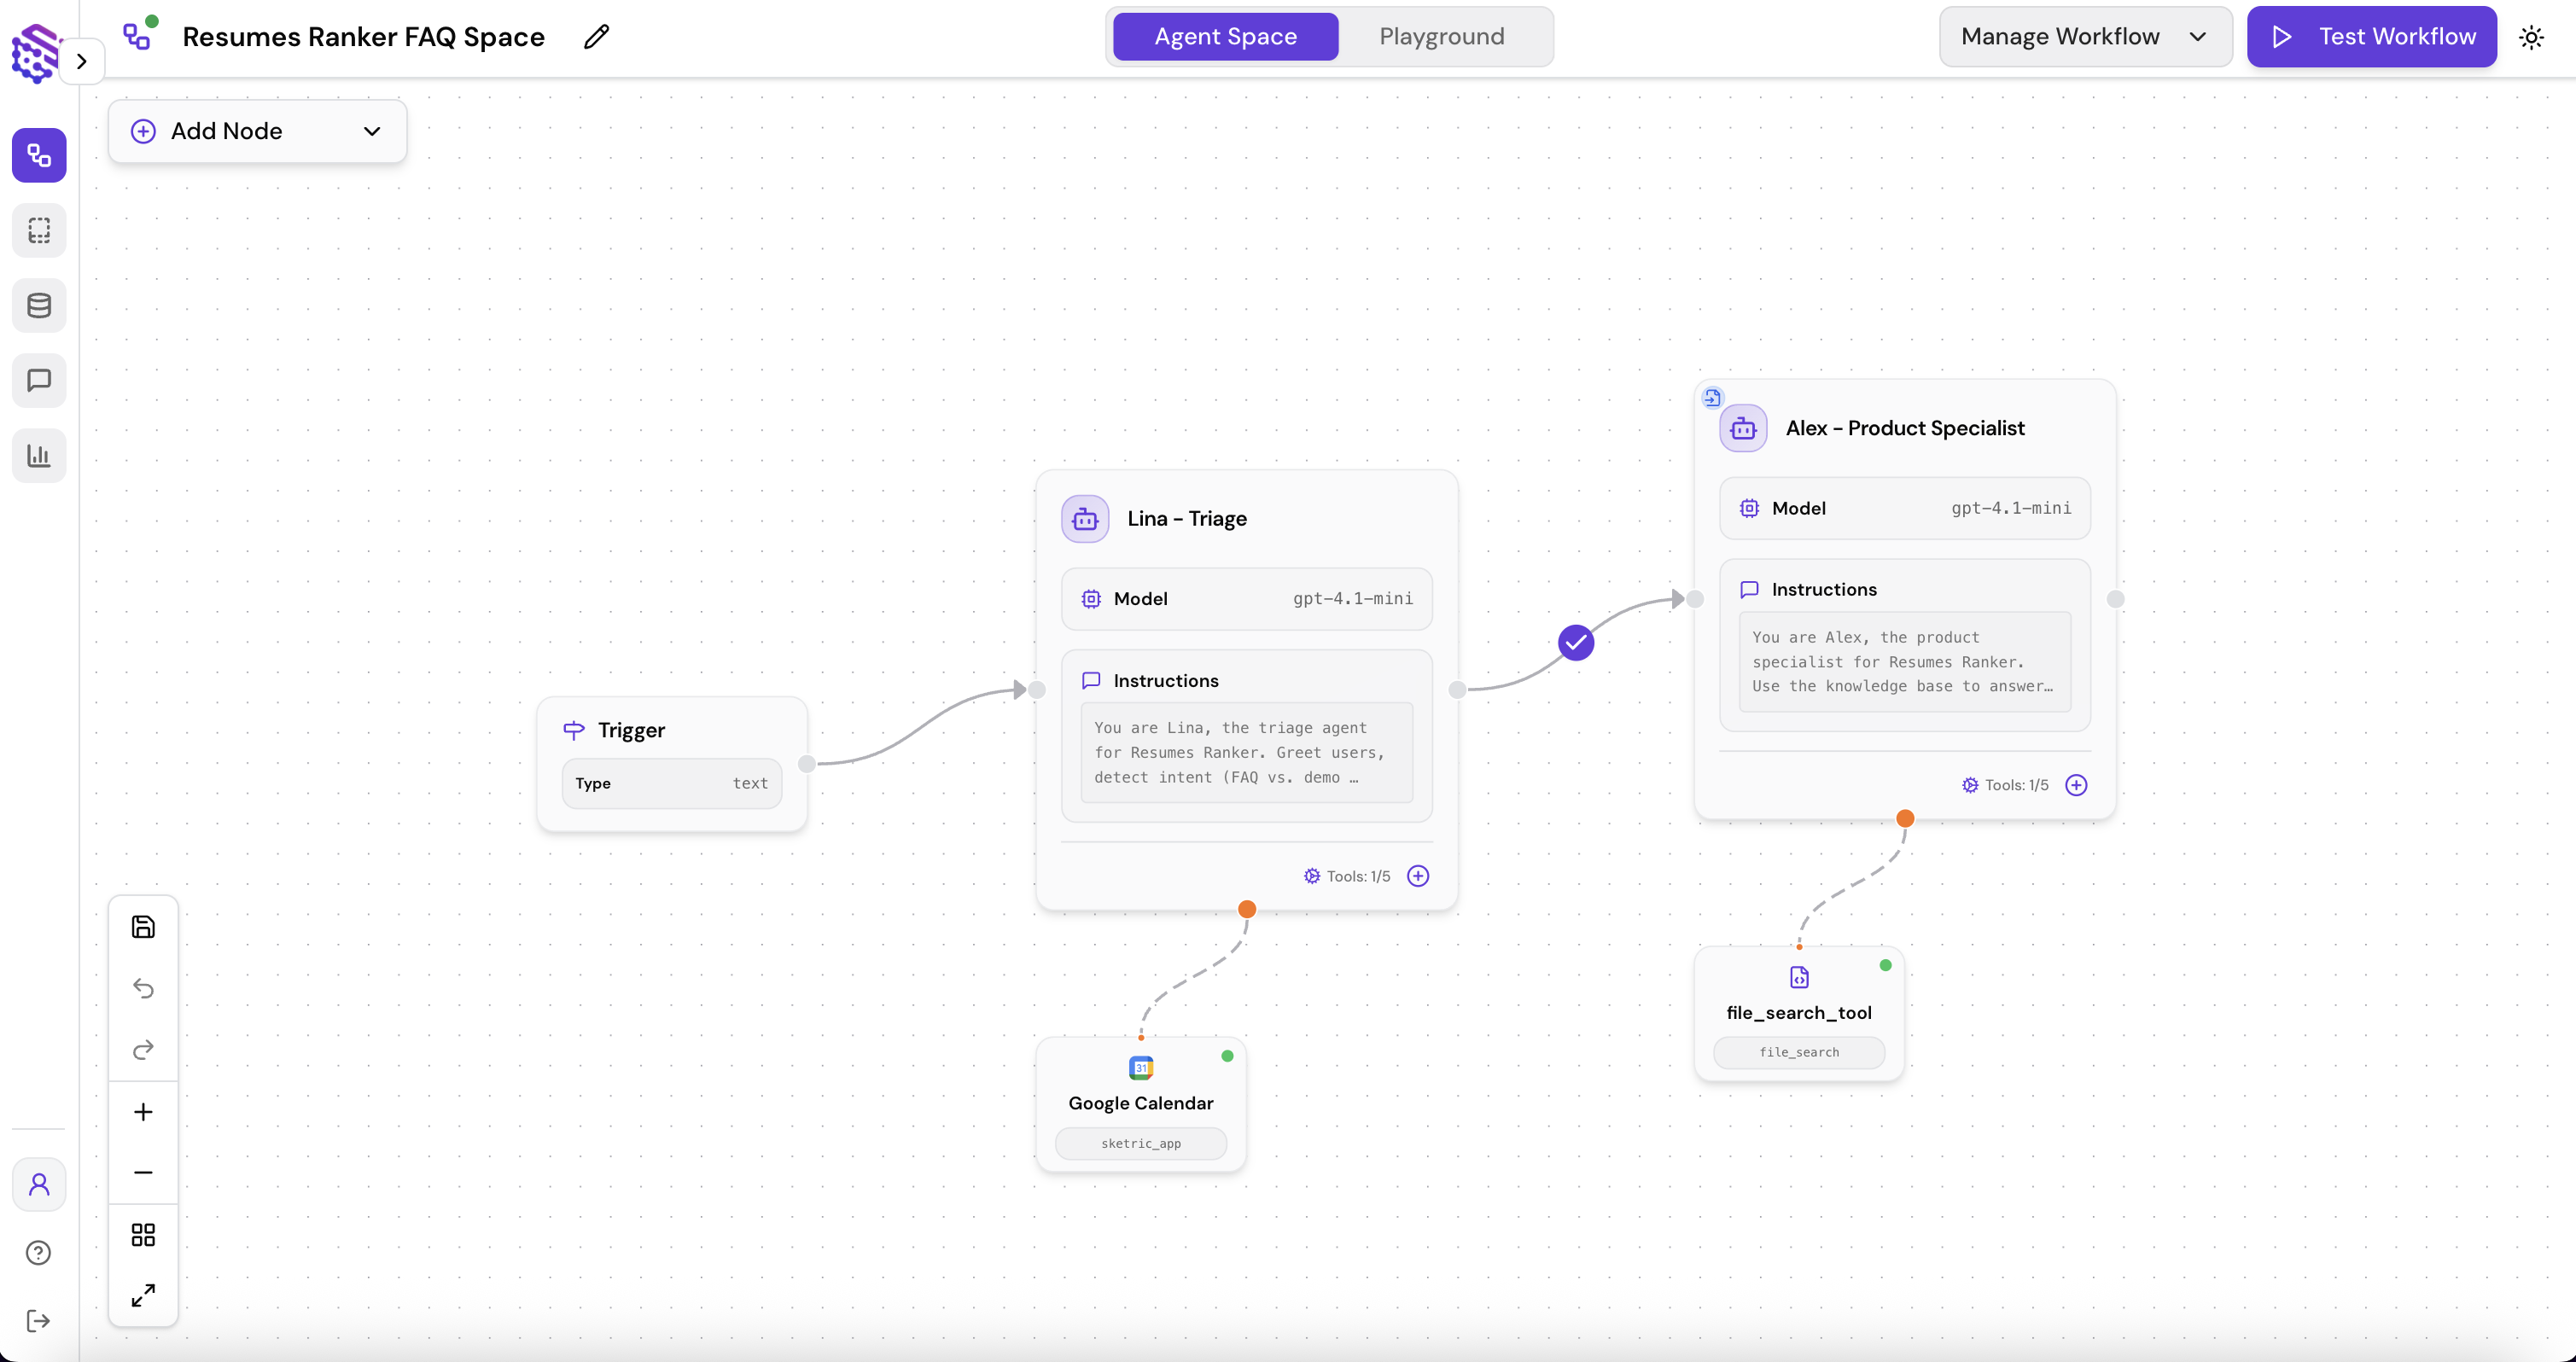
- Draw connection Lina → Alex.
- Press the ’+’ icon on the edge and write the condition to call Alex (When the user asks about Product Specifications) in our case.
4) (Optional) Add light structure
-
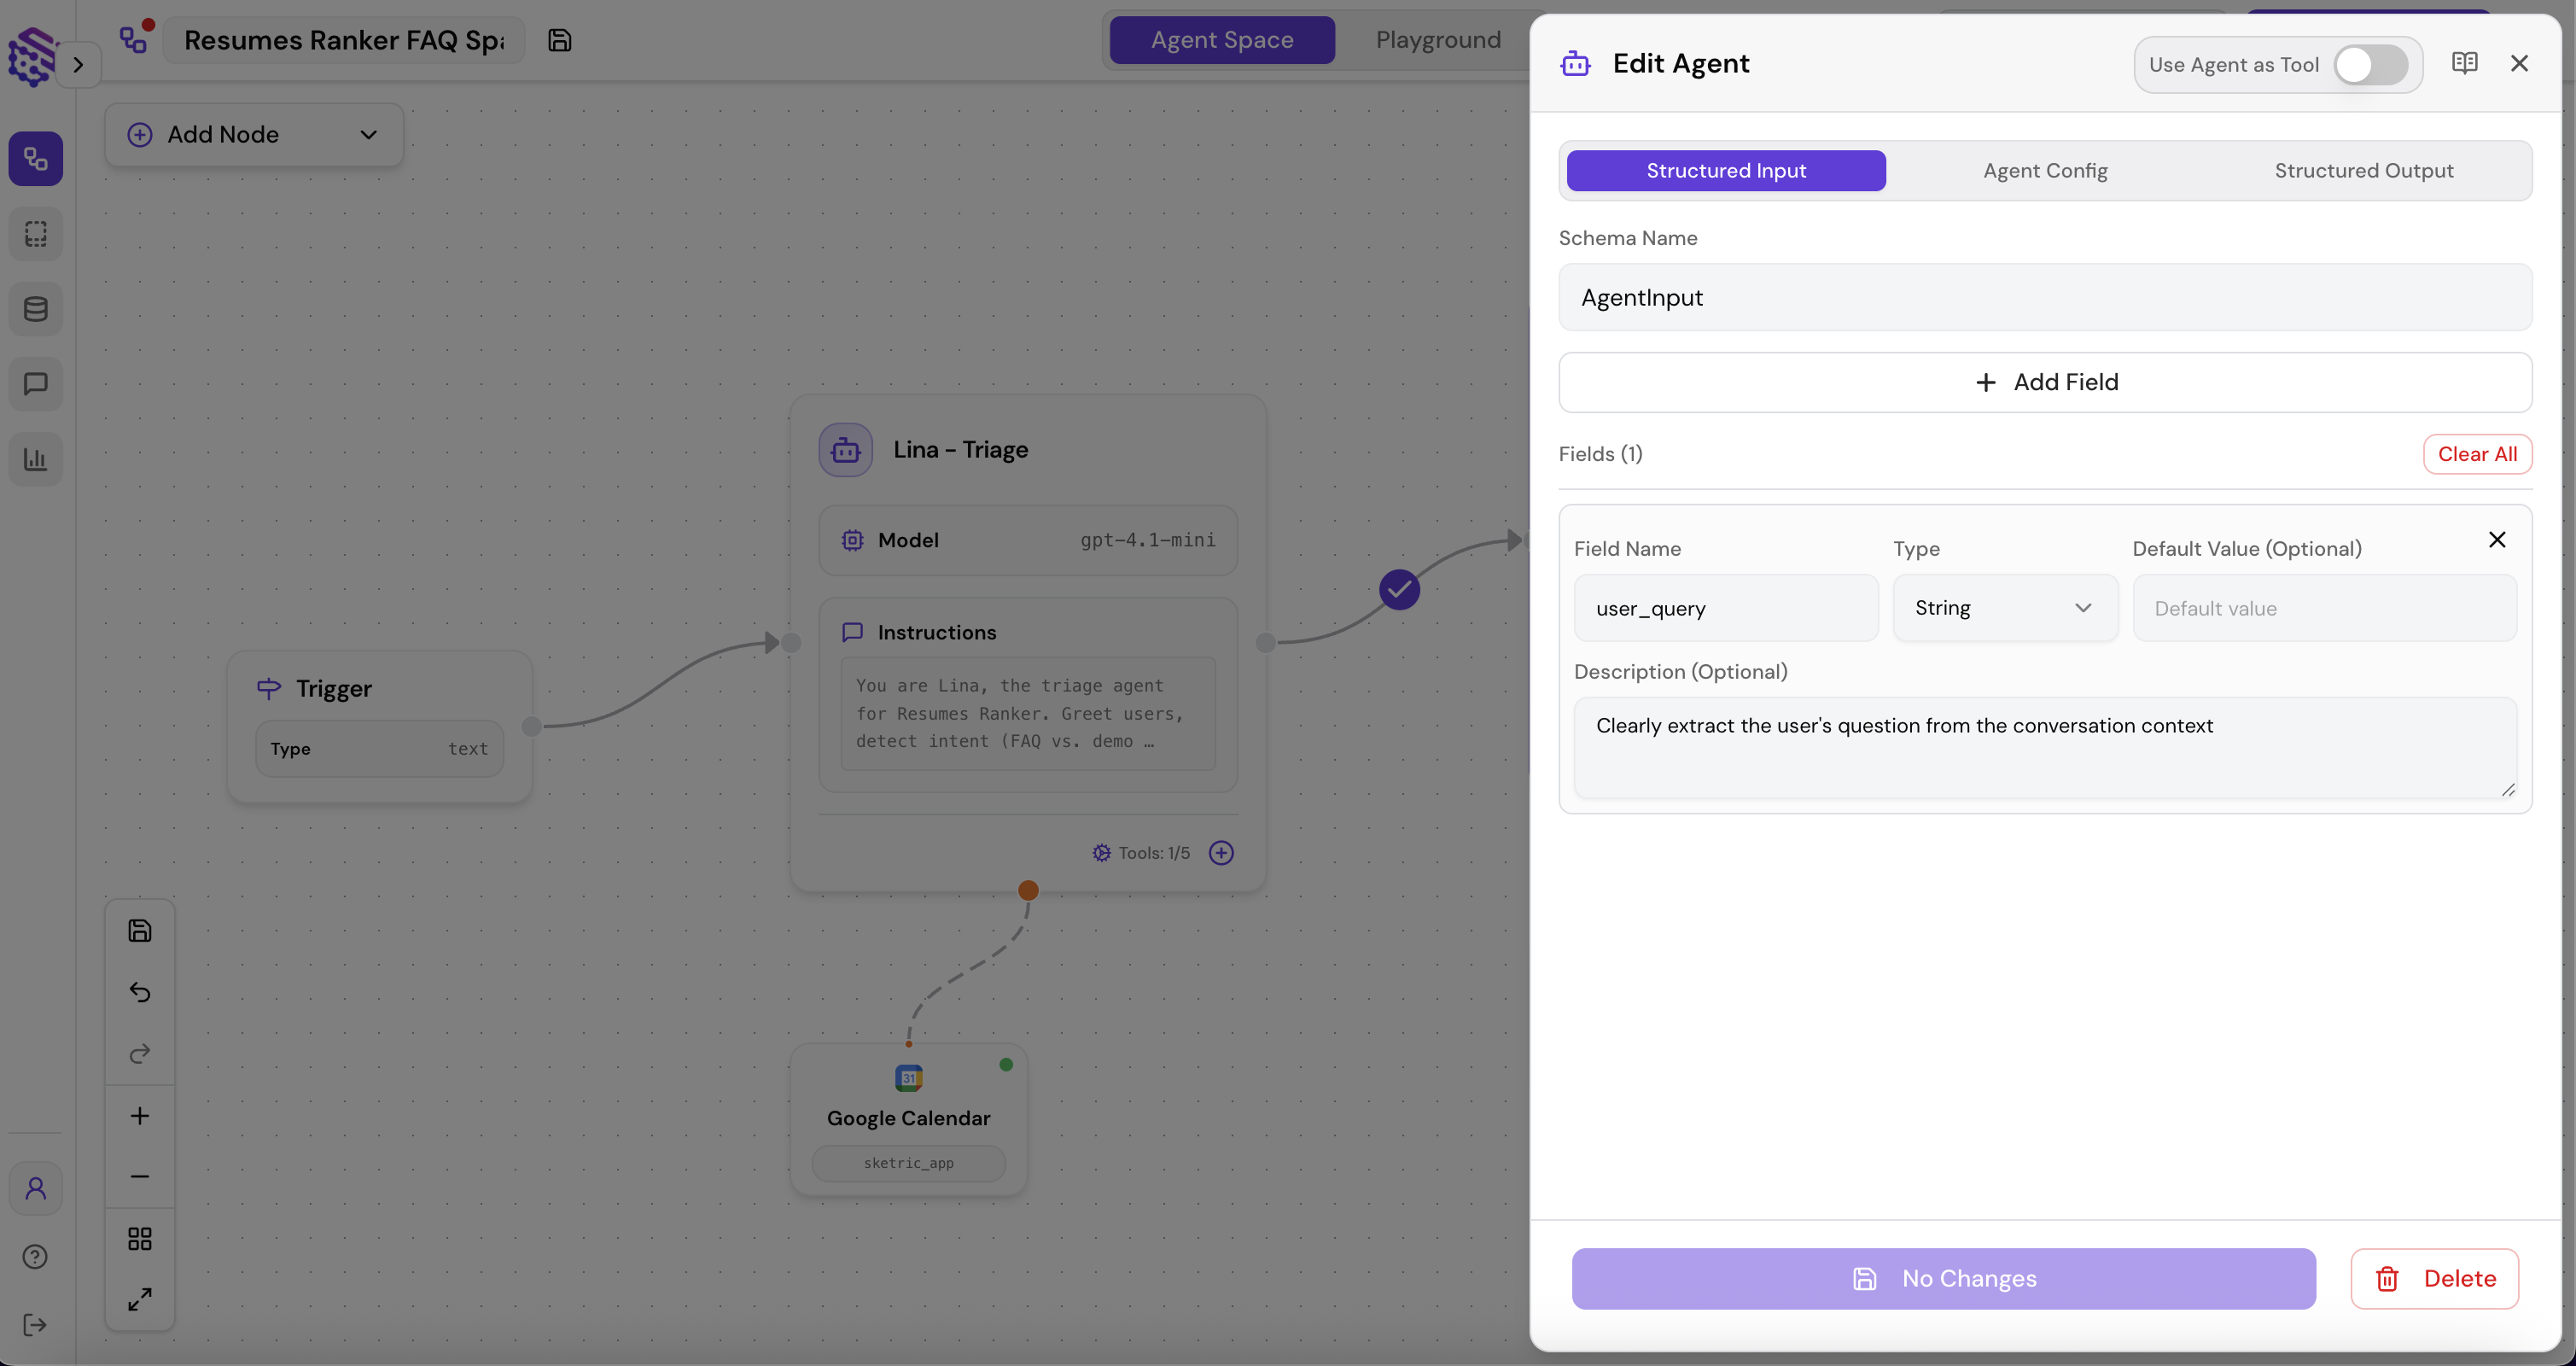
Alex → Structured Input:
- Fields:
user_query (String, Required)
- Why? Lina makes sure to clearly define the user’s query for Alex. (Alex still sees the chat history but this is cleaner)
5) Test the flow & inspect traces
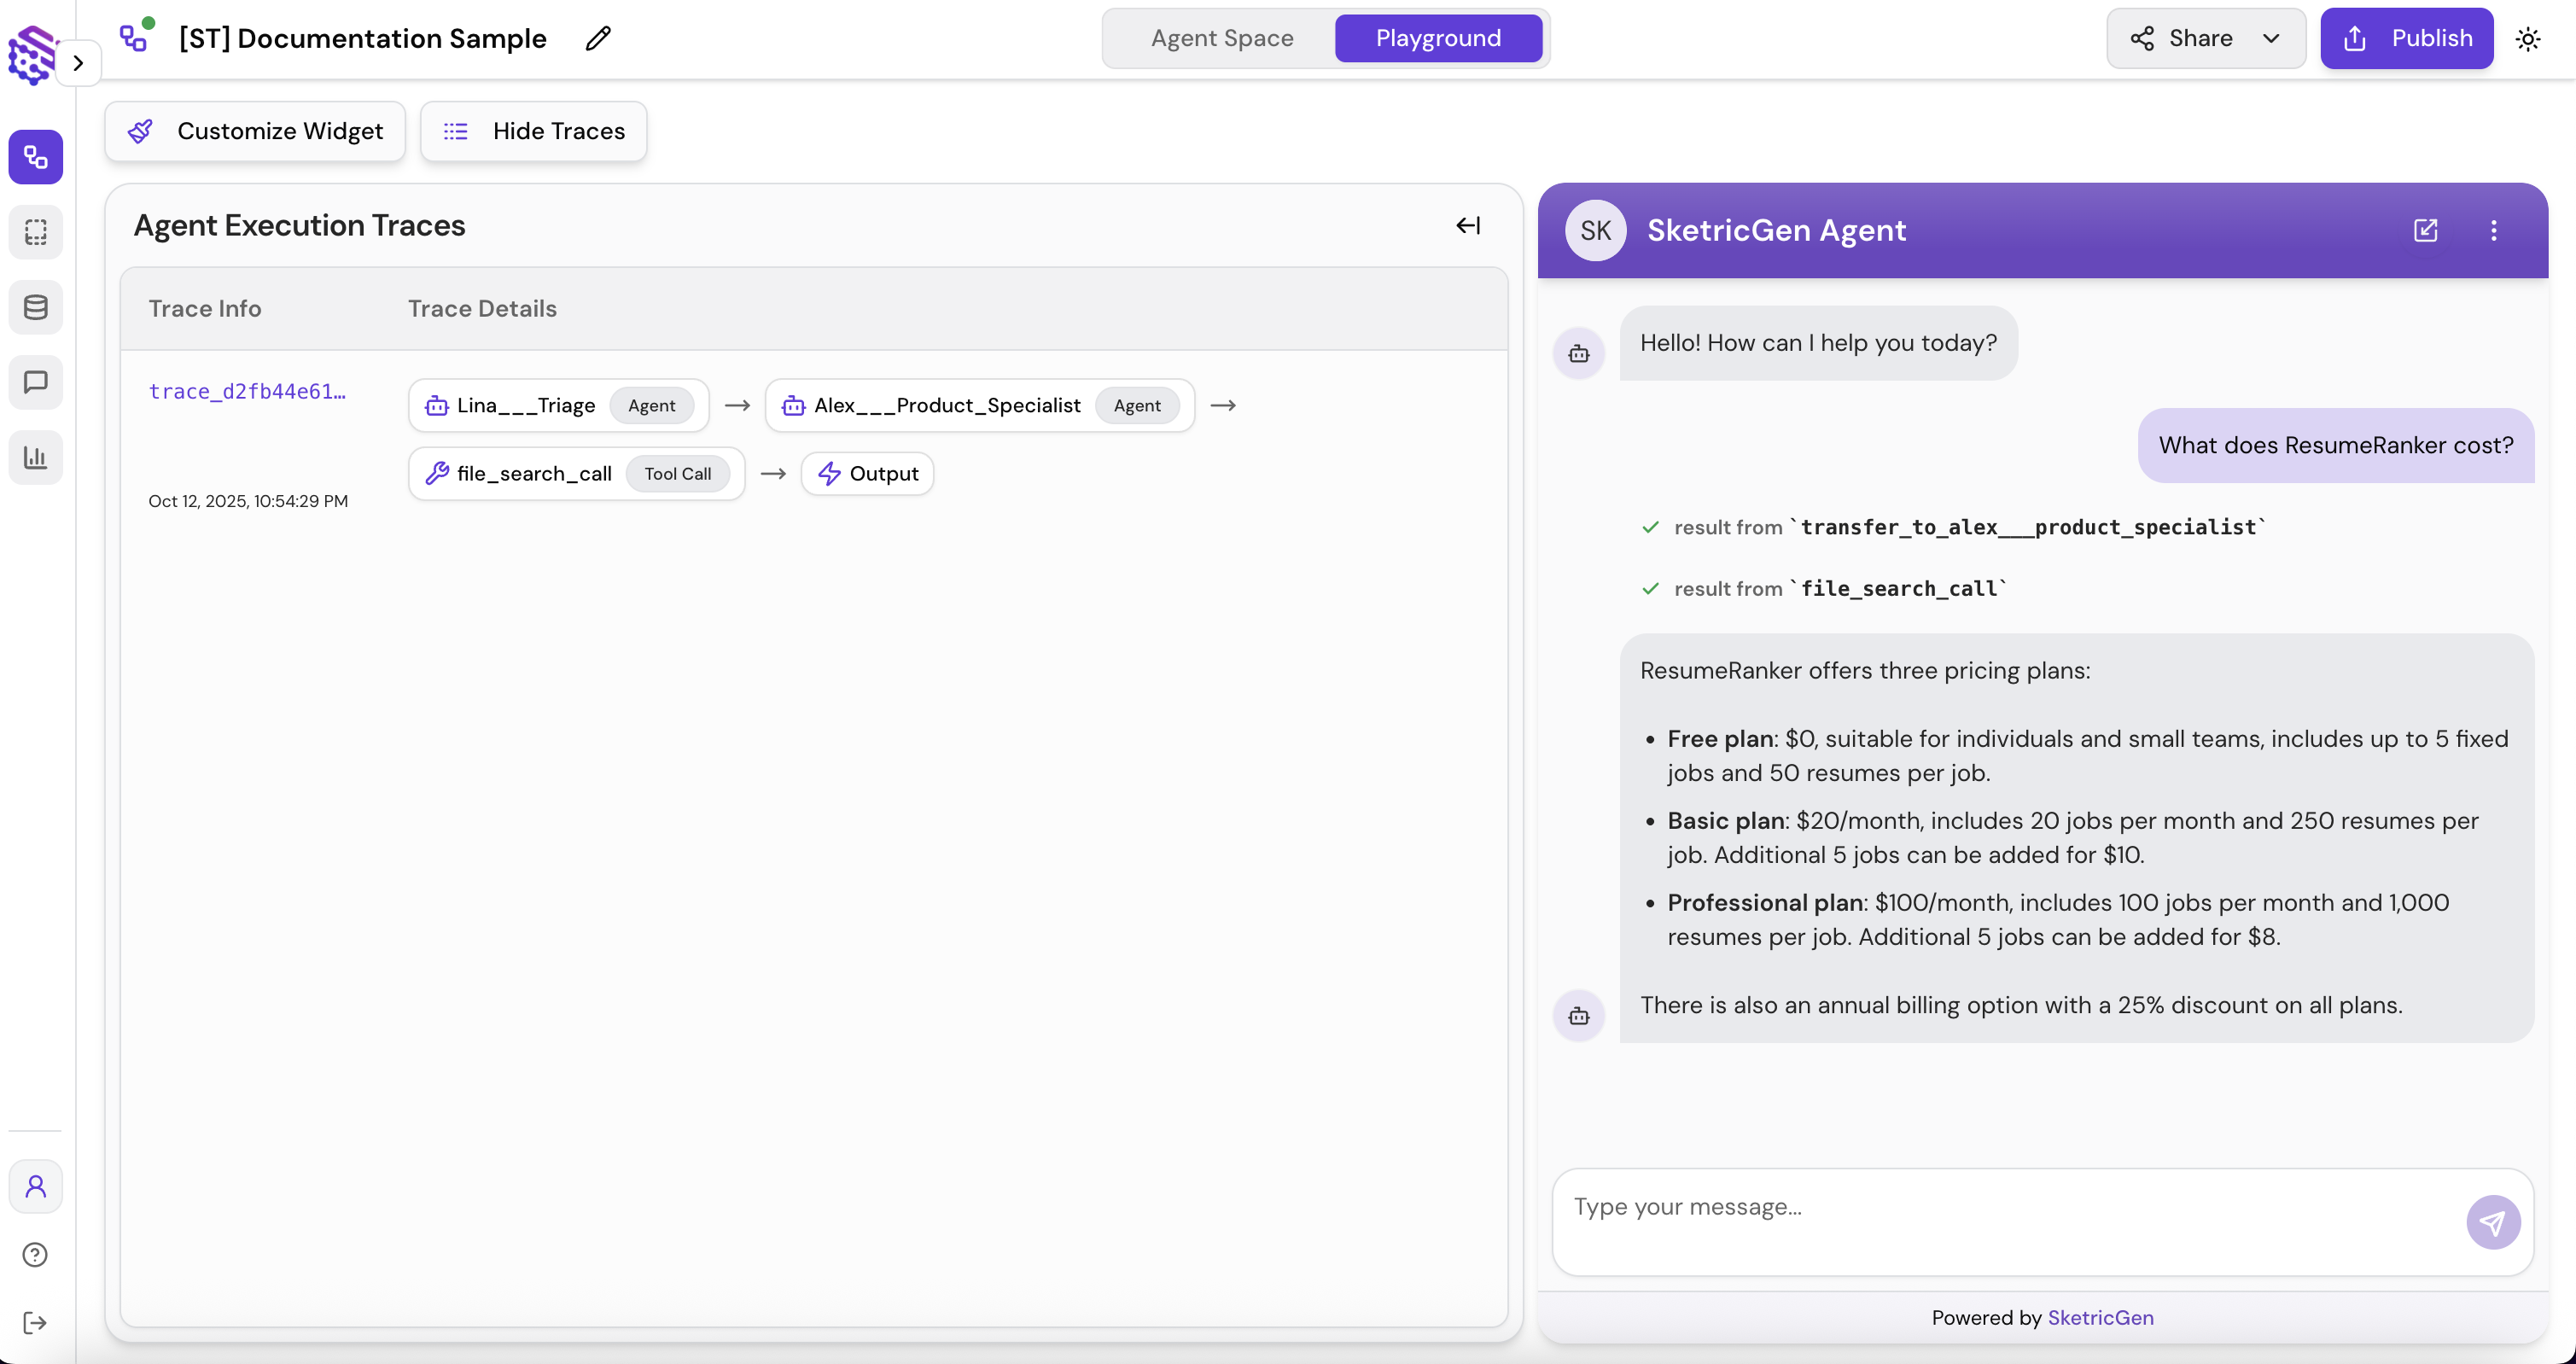
Open Playground and try:
- “What does ResumeRanker cost?” → expect handoff to Alex (File Search cites sources).
- “Can I book a demo for Tuesday?” → expect Lina to use Google Calendar tool.
Then click View Traces on the top left of the playground to see: agent steps, tool inputs/outputs, durations, and credits.
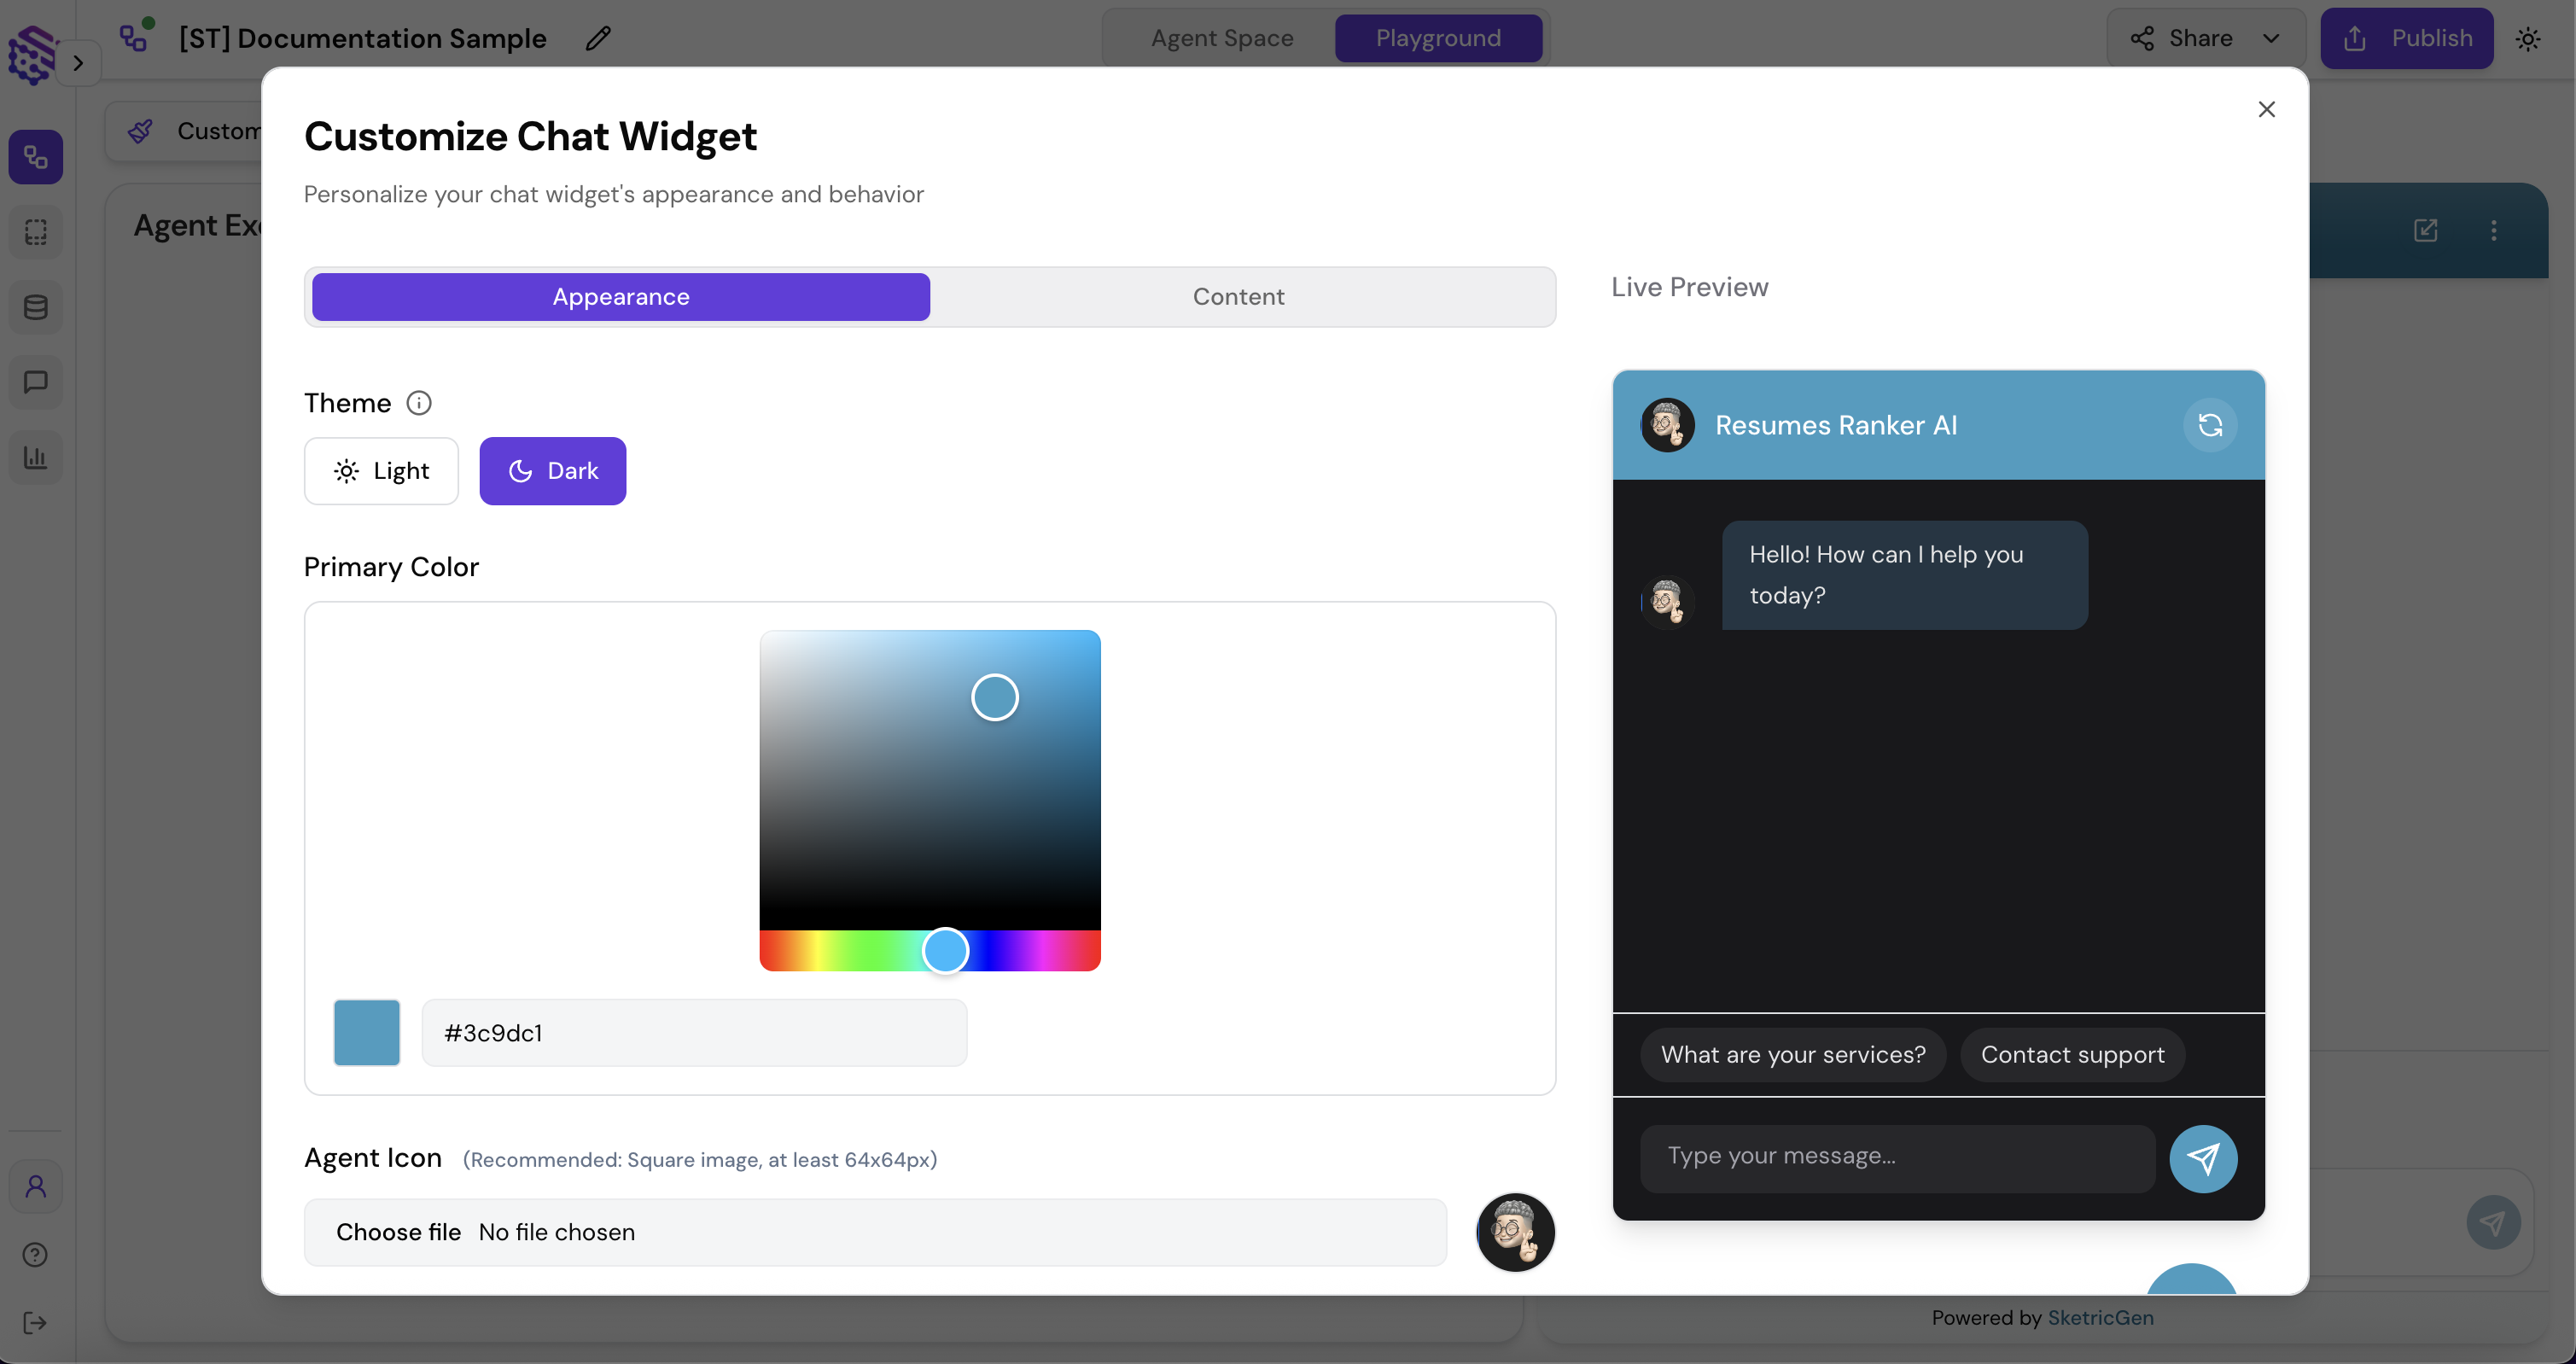
- Upload logo, set brand colors, add default greeting and callouts (e.g., “Ask about pricing or book a demo”).
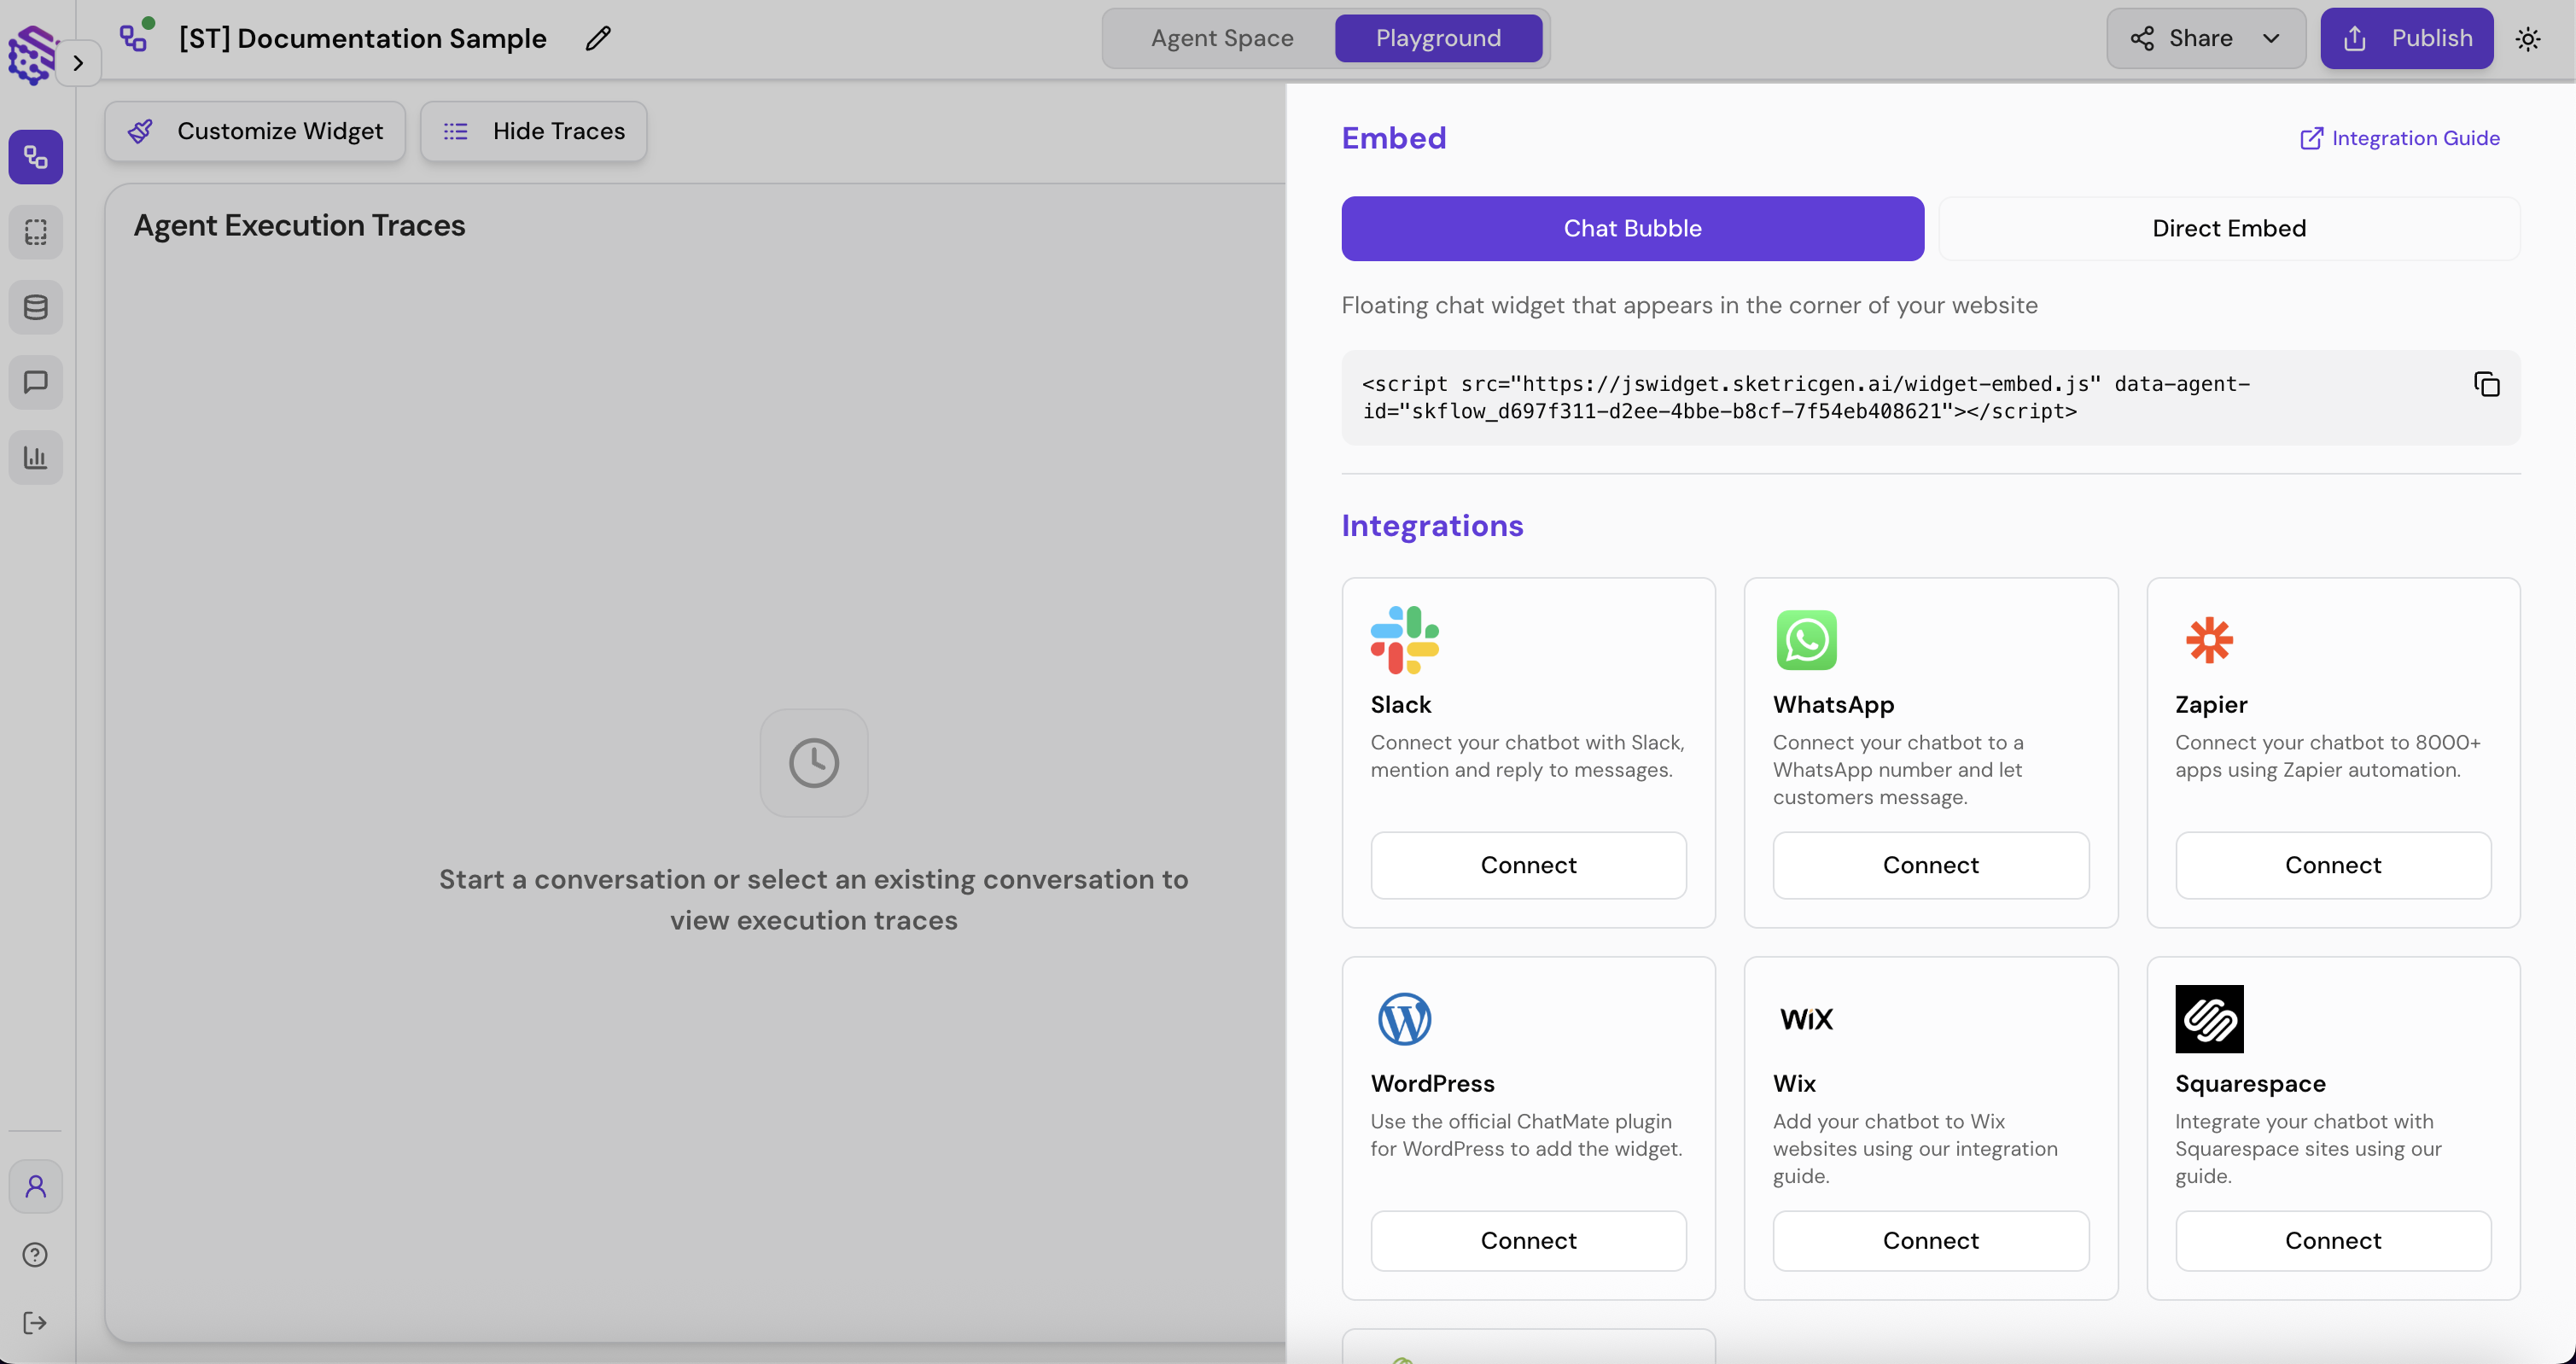
- Publish (top right in playground) → Chat Bubble
- Copy the snippet or follow CMS steps (WordPress, Wix, etc.).
- Paste into a page on your site and verify.
You’re live
You now have an AI-routed, two-agent assistant that answers FAQs and books meetings. Iterate quickly: tweak instructions → re-test → check traces → republish.
Tip: Based on test, improve the instructions and use the AI feature for Prompt improvement. Add more agents later only when responsibilities are clear. 


