- Add New Number
- WhatsApp Existing Business App User
Integrating WhatsApp with SketricGen enables your custom workflow to engage directly with customers through WhatsApp, offering a streamlined and efficient solution for managing inquiries and automating responses. This guide will take you through the steps required to link your workflow to a WhatsApp number, ensuring smooth and effective customer communication.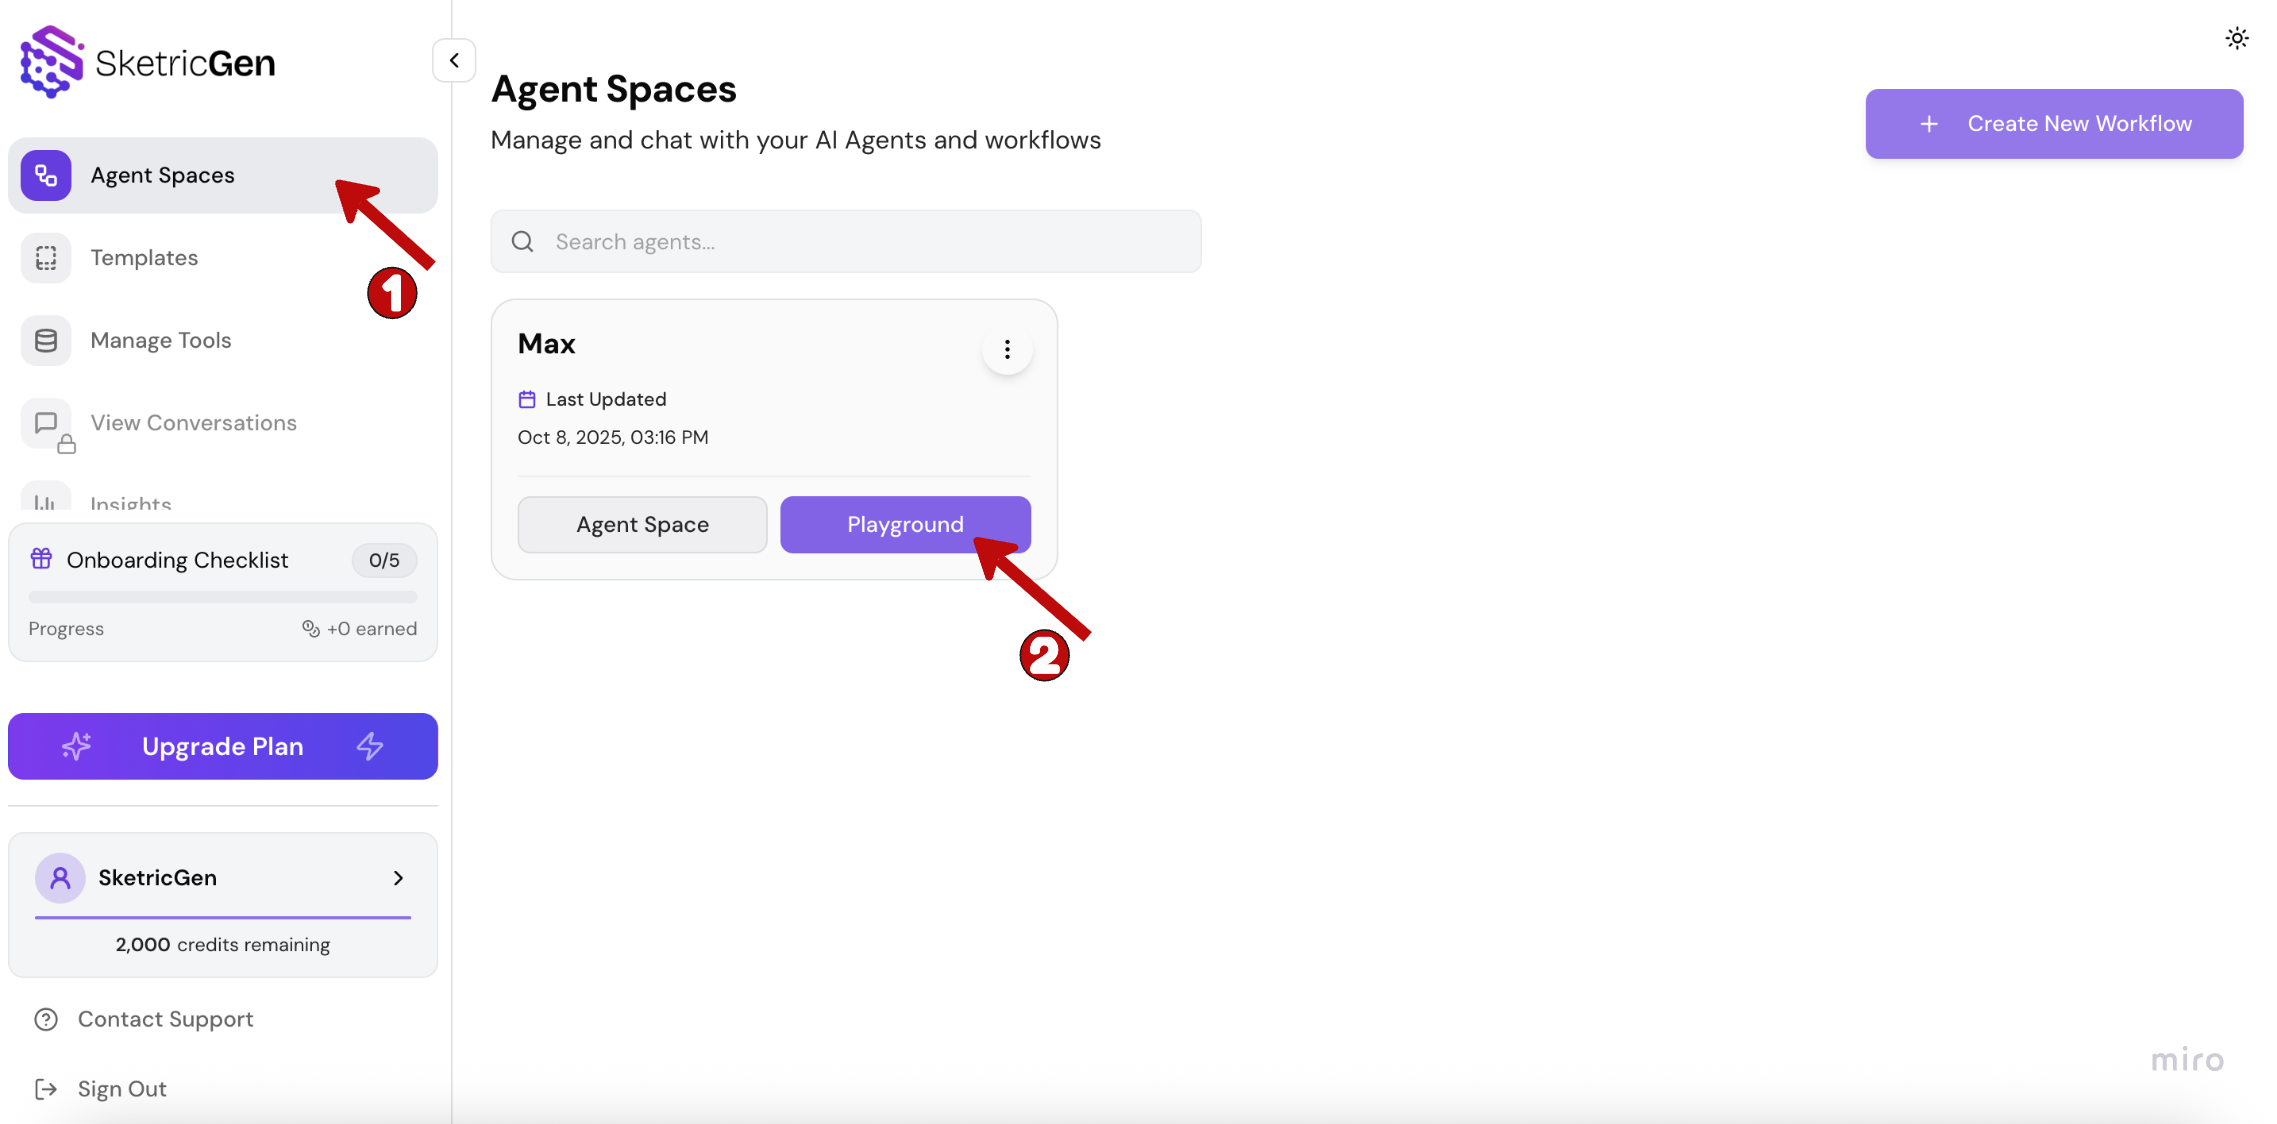

Before You Begin
The phone number you connect to SketricGen via WhatsApp can only be used by the workflow. It will no longer work with the WhatsApp or WhatsApp Business apps.If the number is already in use, you’ll need to delete the associated WhatsApp account first:- Open the WhatsApp or WhatsApp Business app.
- Go to Settings > Account.
- Tap Delete my account. This process may take a few minutes.
- Log in to your WhatsApp Business Account.
- Select the phone number you want to integrate.
- Go to Settings > Two-step verification, then turn it off.
Pre-requisite: Sign Into SketricGen and Set Up Your workflow
To get started with the integration, sign in to your SketricGen account. If you don’t have an account yet, you can create one for free. Once you’re logged in, begin setting up your workflow by uploading your data sources. These can include files, text snippets, websites, or Q&A pairs, which will serve as the knowledge base for your workflow.If you need assistance with setting up a working SketricGen workflow, refer to the step-by-step guide for creating and deploying your workflow.Step 2: Go to Agent Playground
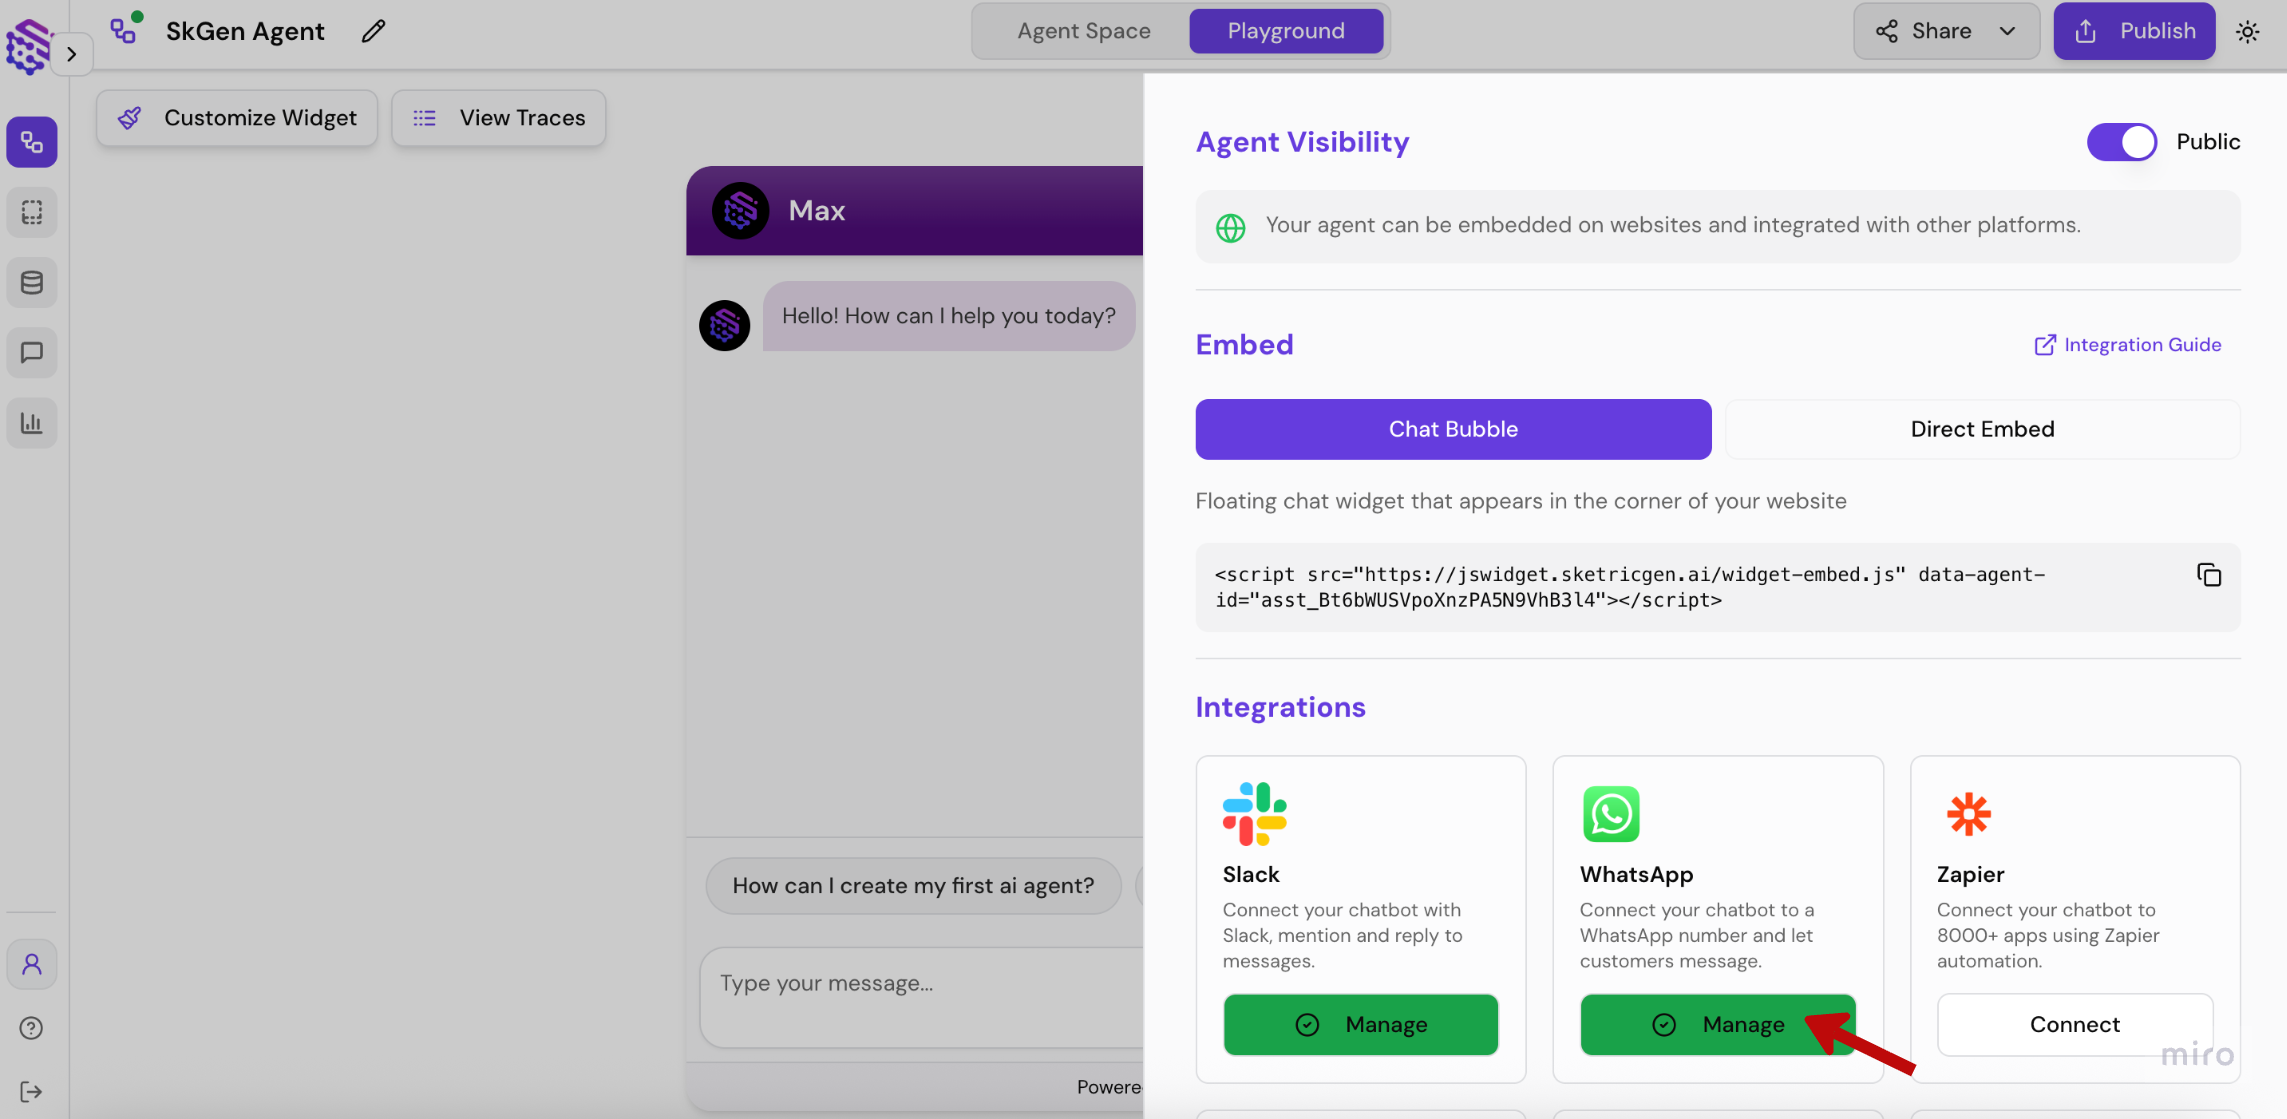
Navigate to Agent Spaces and click Playround on the agent you want to integrate WhatsApp with.Step 2: Initiate WhatsApp Integration
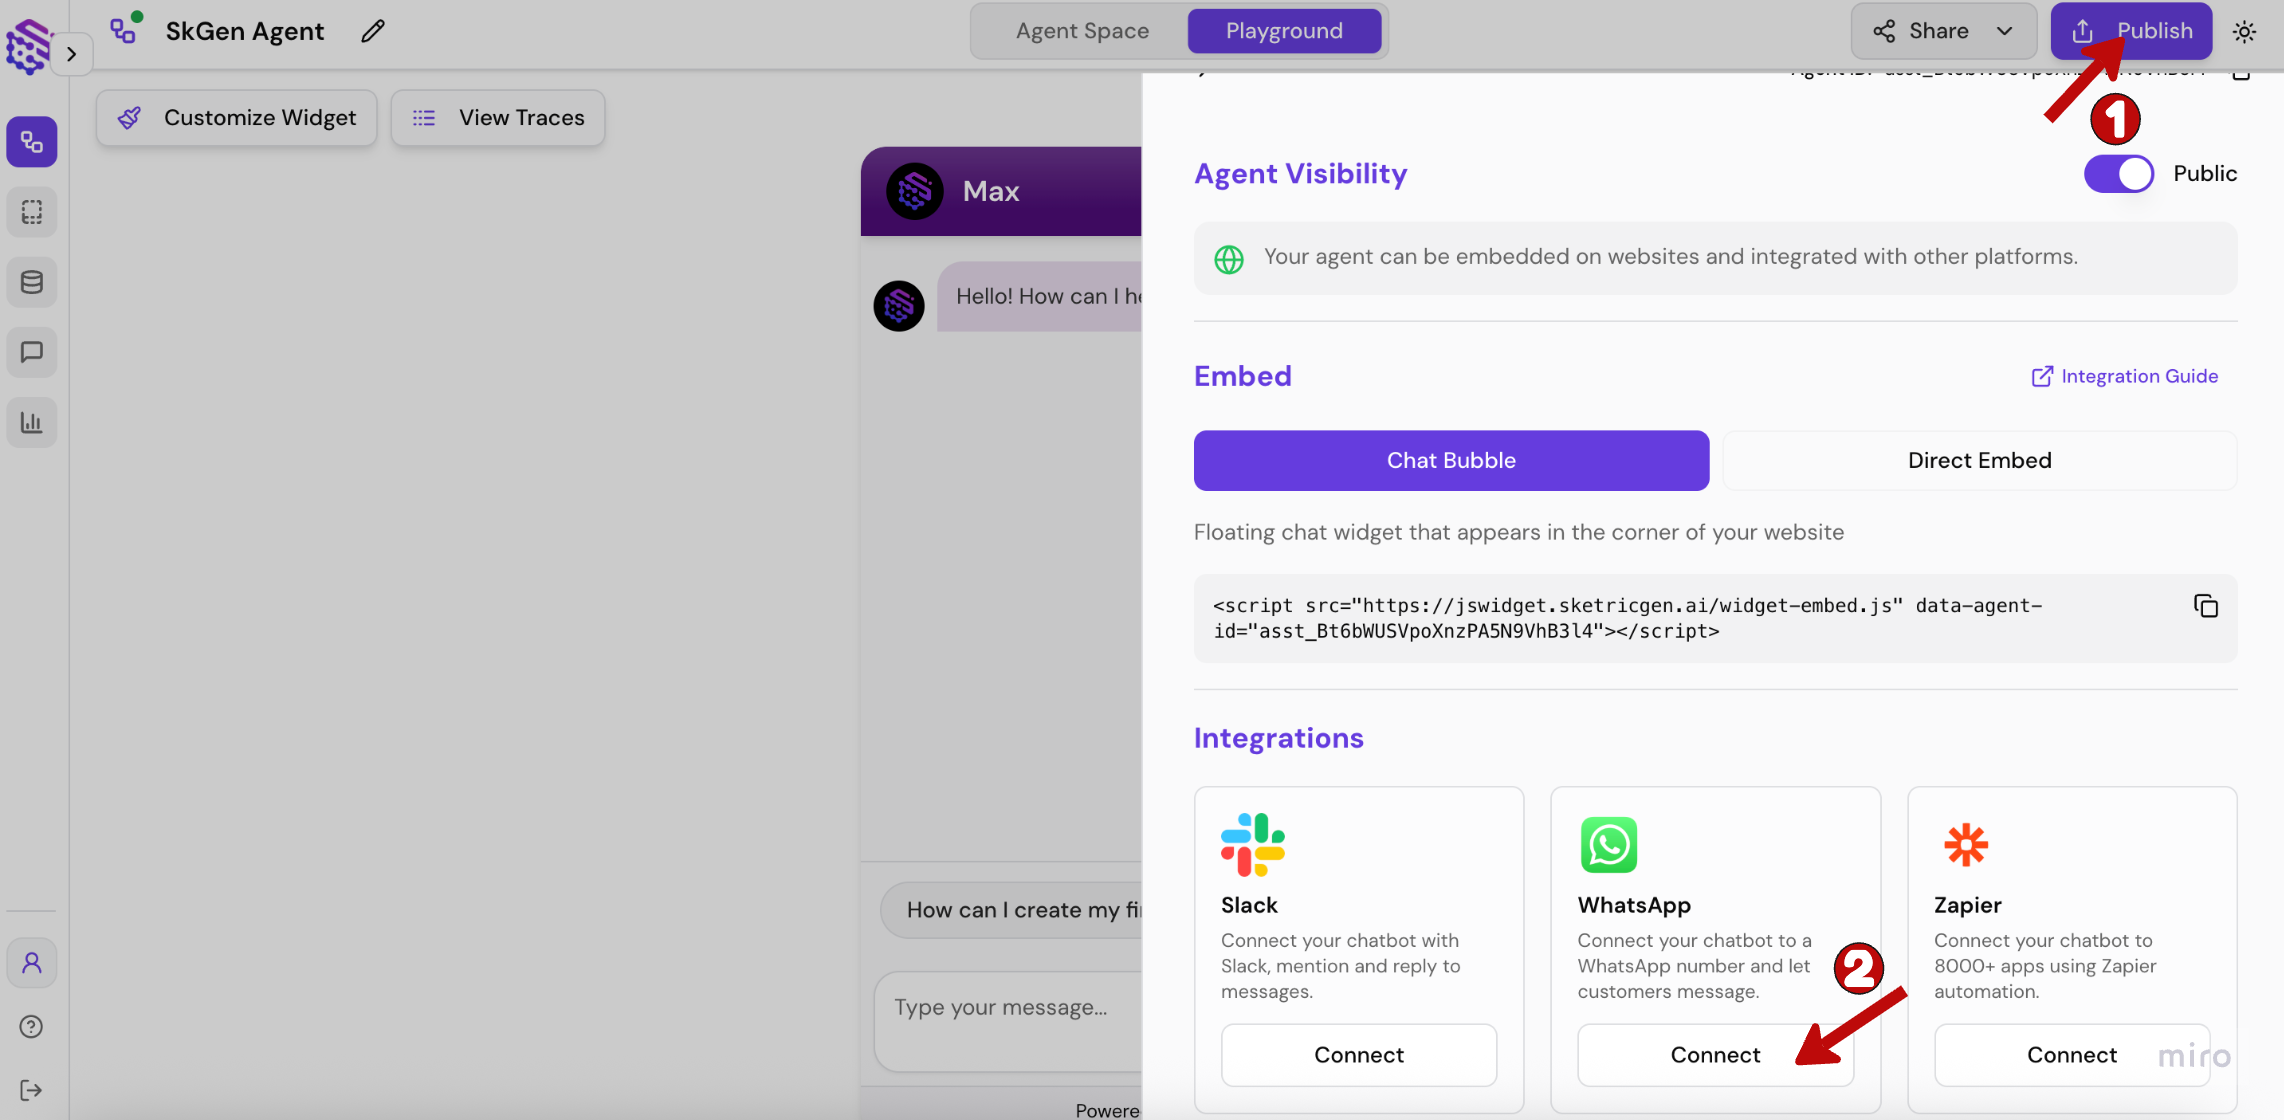
Click the Connect button on the WhatsApp integration panel in the Publish sidebar.Step 3: Set Up with Meta
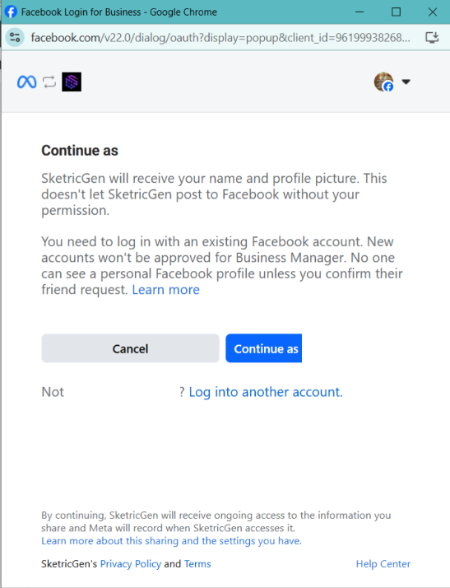
1. Log in to your Facebook account.
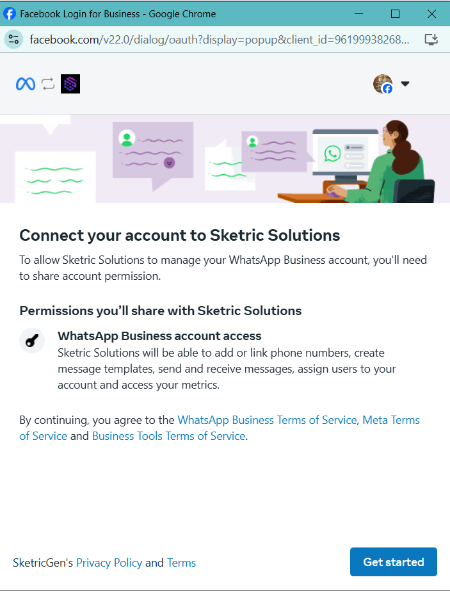
2. Click Get Started.
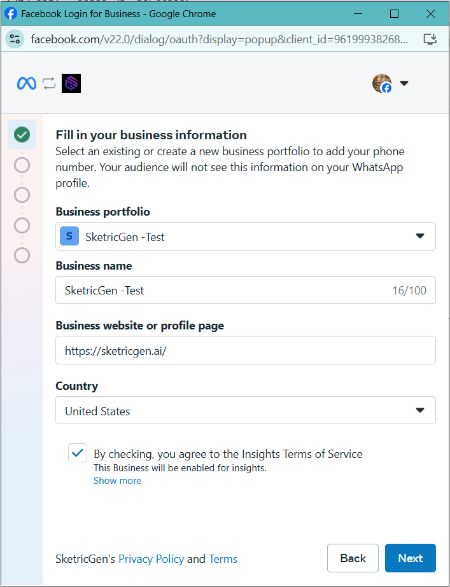
3. Create or select a business portfolio.
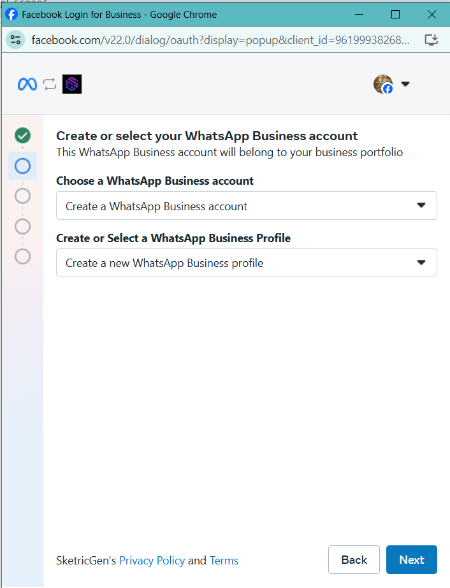
4. Select an existing WhatsApp business profile or create a new one.
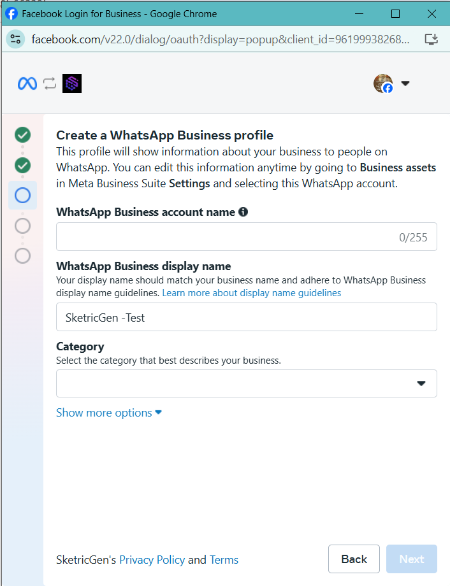
5. Fill in the information for the WhatsApp business account.
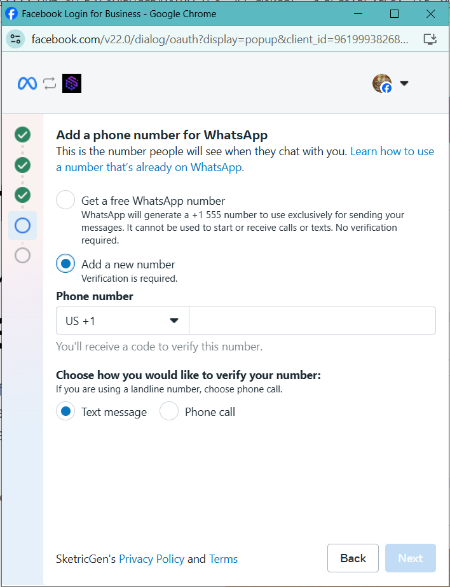
6. Add a new number or get a free WhatsApp number by Meta.
7. Click Continue.
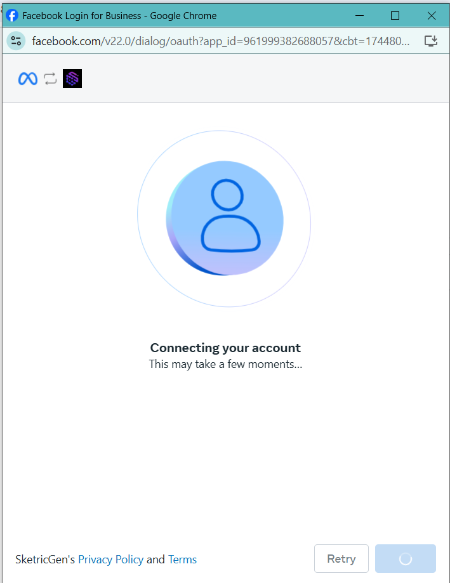
8. Meta will verify your information.
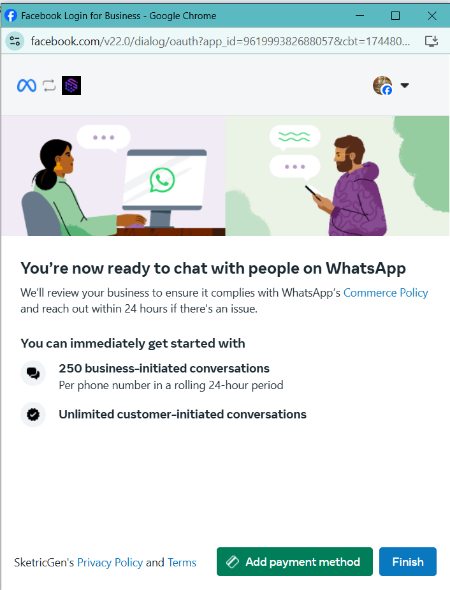
9. Click Finish to connect your WhatsApp account with SketricGen.
Step 4: Confirm Connection
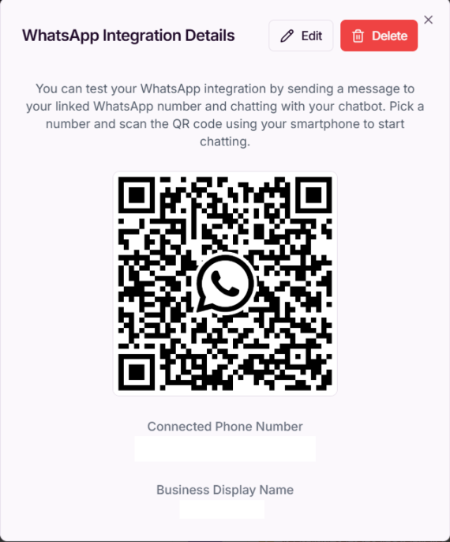
If your WhatsApp account is successfully connected, the Connect button will turn into a Manage button in the Publish sidebar of your agent’s dashboard.Step 5 (Optional): Manage and Test
You can view integration details and test the setup by clicking the Manage button.