Step 1: Sign Into SketricGen and Set Up Your Chatbot
To get started with the integration, sign in to your SketricGen account. If you don’t have an account yet, you can create one for free. Once you’re logged in, begin setting up your chatbot by uploading your data sources. These can include files, text snippets, websites, or Q&A pairs, which will serve as the knowledge base for your chatbot. If you need assistance with setting up a working SketricGen chatbot, refer to the step-by-step guide for creating and deploying your chatbot.Step 2: Copy your SketricGen User ID and API Key
Go to the profile section of your SketricGen account and copy your User ID and API Key which you will paste in Zapier in step 3.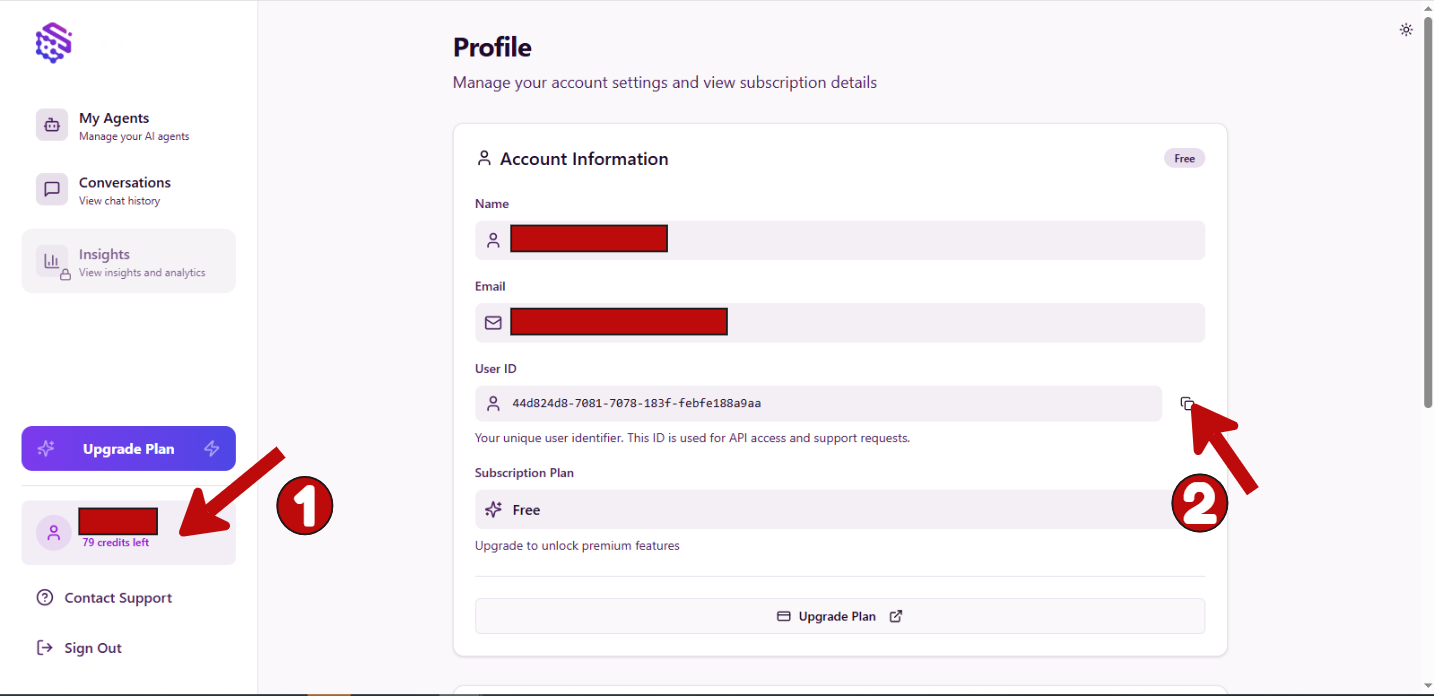

Step 3: Connect SketricGen with Zapier
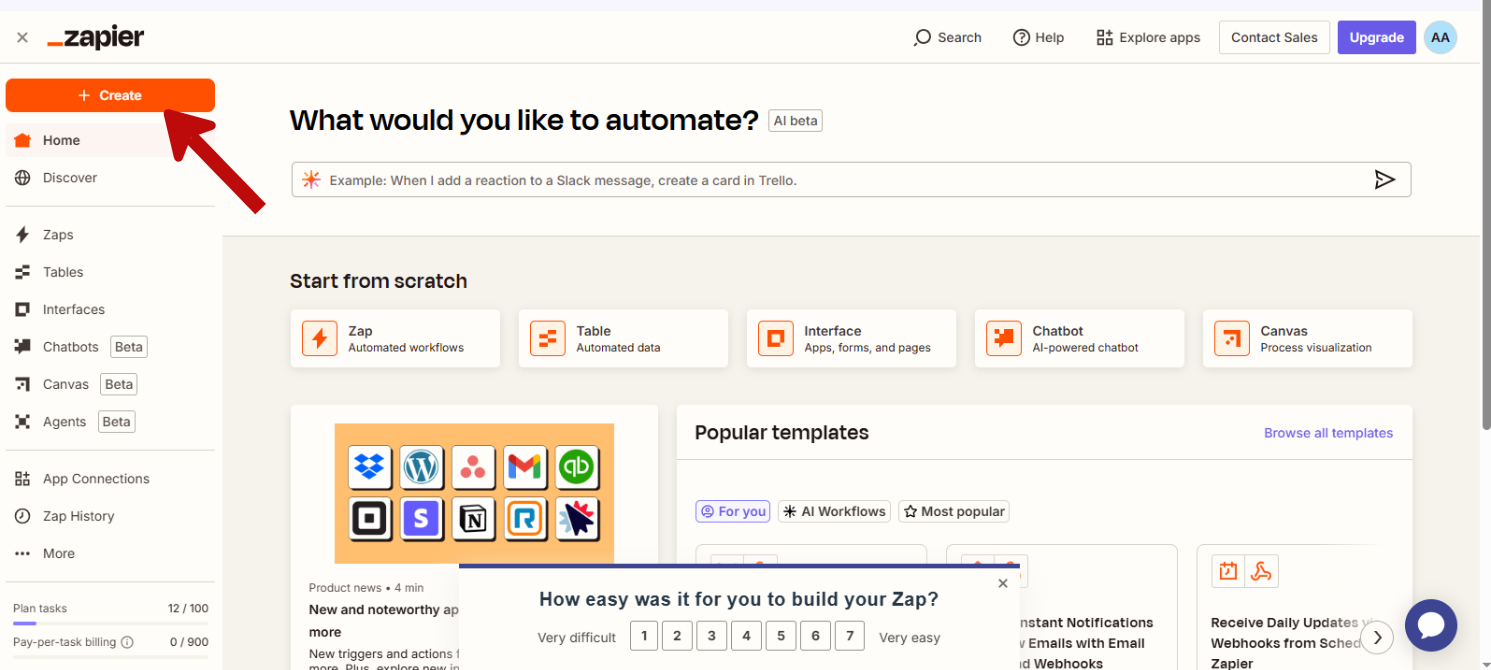
1. Create a Zap Workflow
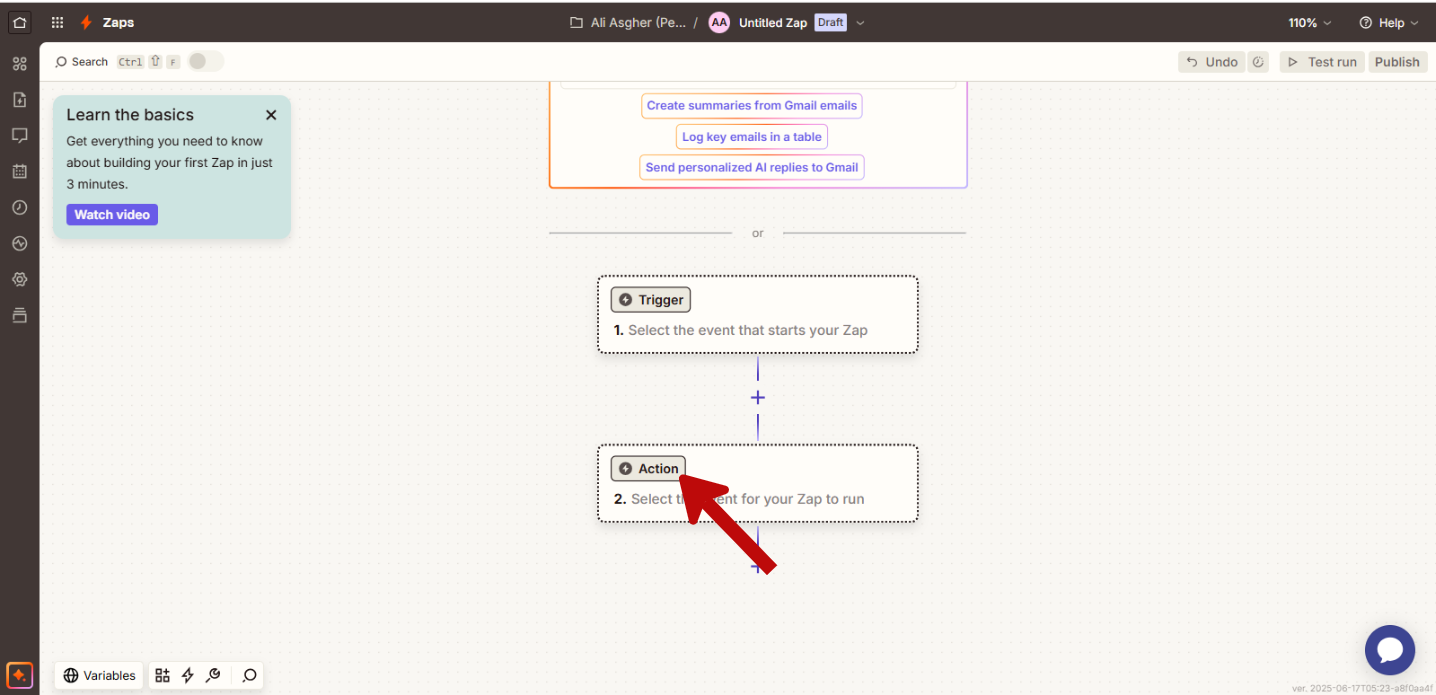
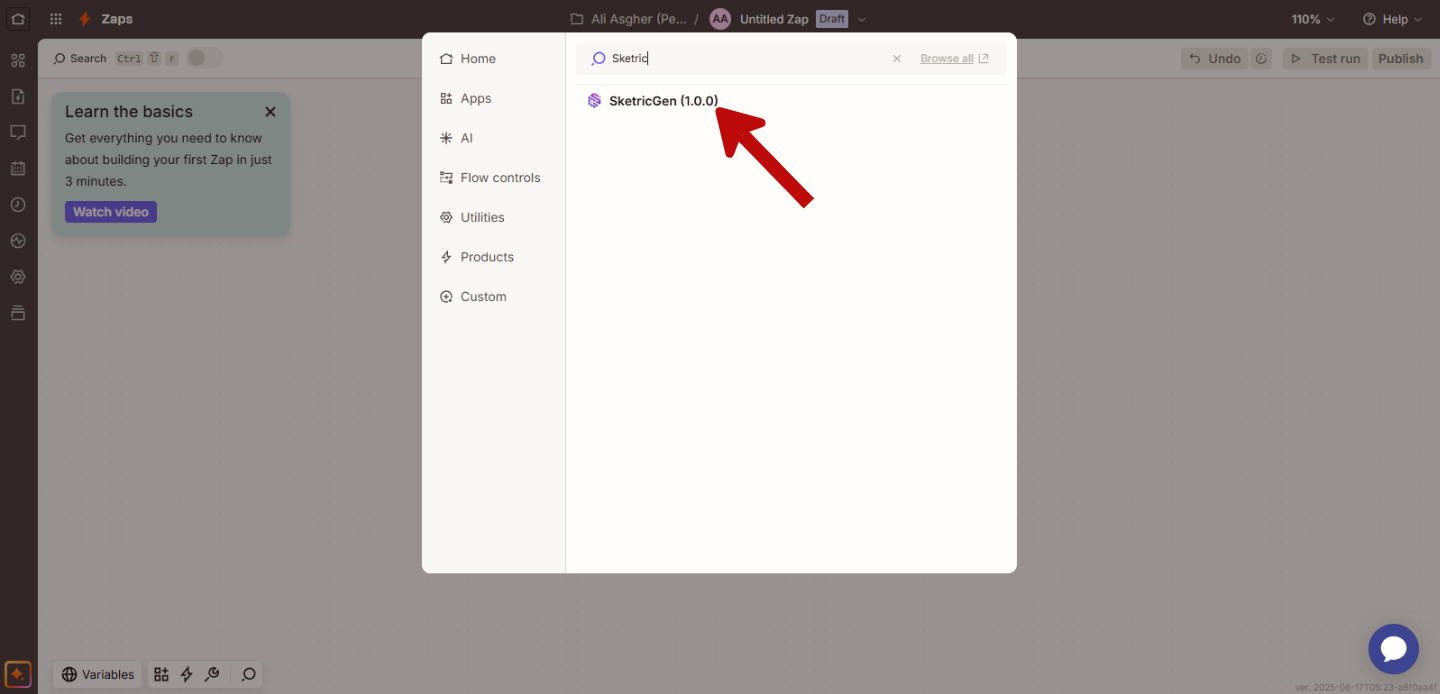
2. Add SketricGen Integration (We currently support adding our Integration as an Action in a Zapier Workflow)
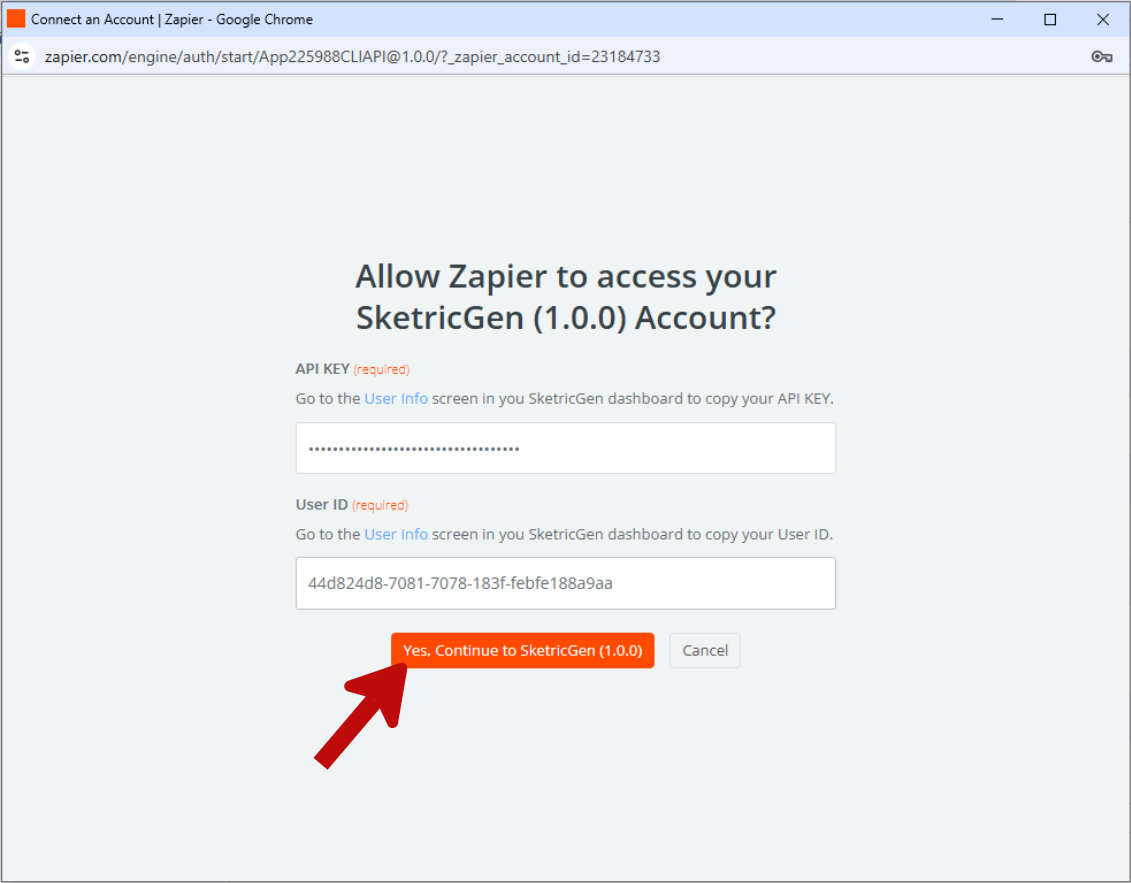
3. Paste the API Key and User ID you copied in Step 2 to connect your SketricGen account with Zapier
Step 4: Copy your Agent ID
Go to your agent’s playground and in the Publish sidebar copy the Agent ID “asst_…”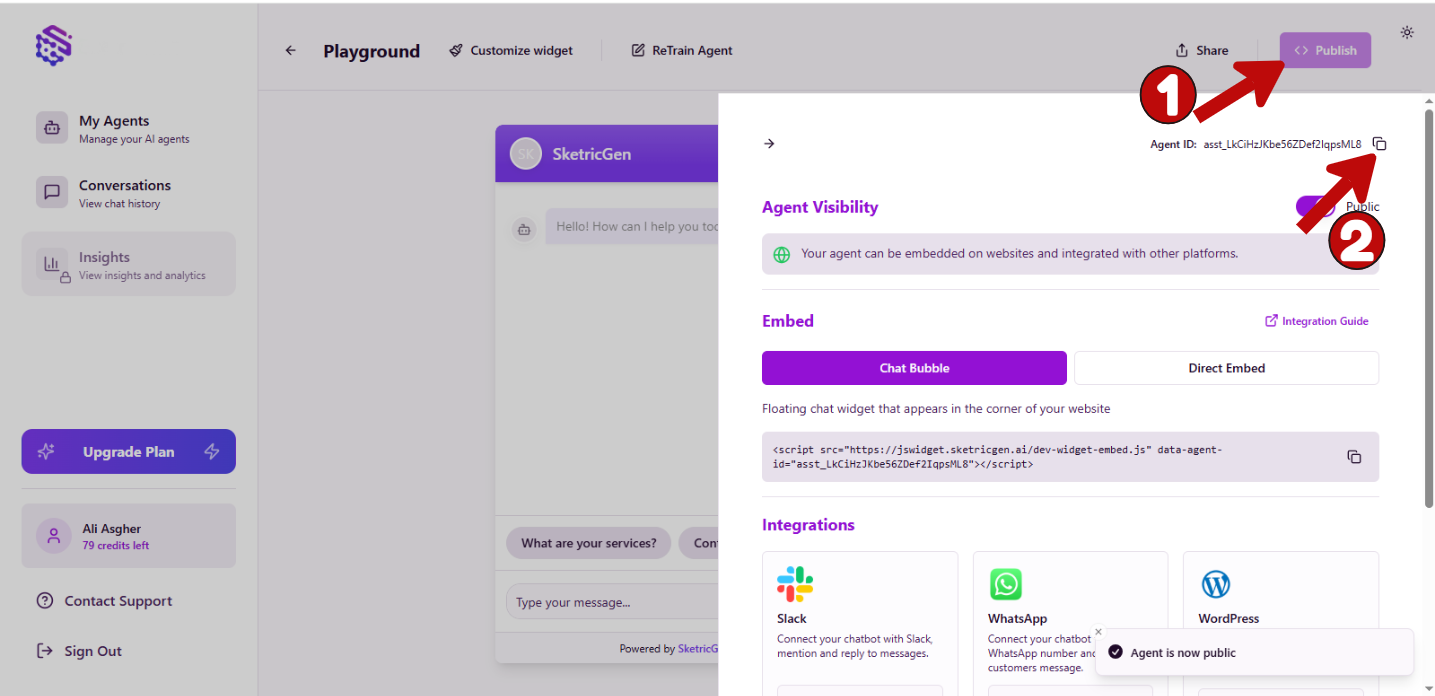
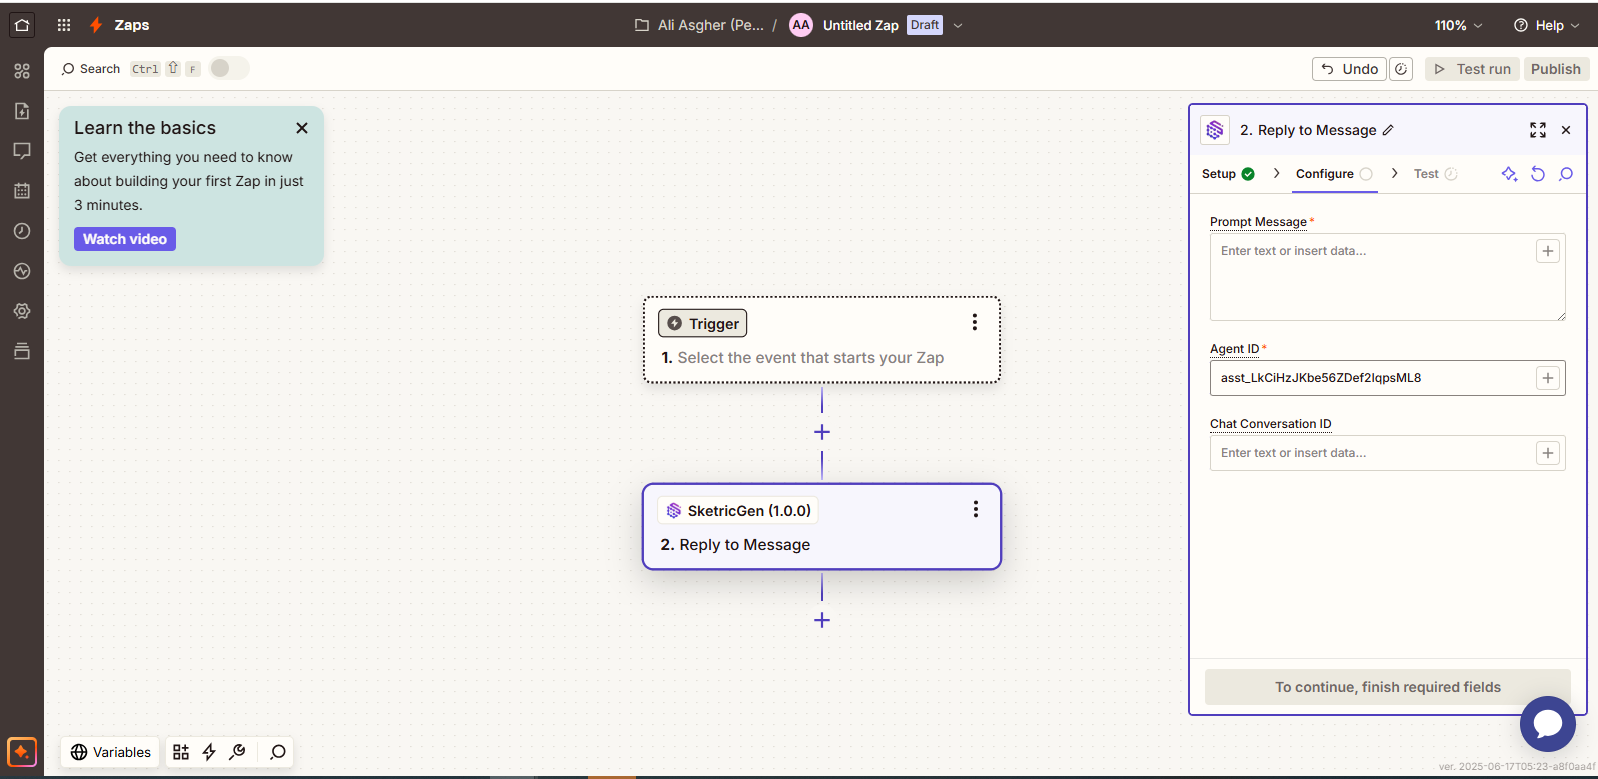
Step 5: Configure your integration
You can now add triggers and more actions in your Zap Workflow with your SketricGen integration by adding a Prompt Message and your Agent ID. You can also add a Conversation ID which will enable your agent to maintain context for multi-turn runs of your workflow. Your integration will always return a Response Text which you can further use to generate automated replies, generate leads and much more.